Streamlining Drawing Management
When working on a construction project, keeping your drawings organized can be a real challenge. You might have multiple buildings on a single site, or several revisions of the same drawing that need to be managed simultaneously. In Procore, you can solve this problem by adding drawings to a project in a way that keeps them easy to access and clearly separated by drawing areas. This not only helps with clarity but also reduces errors and confusion caused by repeated drawing numbers such as "A1" appearing for different structures.
Organization matters tremendously in construction documentation. When projects involve multiple buildings, the same drawing number might appear across different structures, creating potential confusion. By creating separate drawing areas, you maintain clear distinctions between similar numbering systems. This organization extends beyond mere convenience—it directly impacts project efficiency and accuracy.
Team members benefit from streamlined navigation when drawings are properly categorized by area or building. Rather than searching through countless pages, they can quickly locate the exact document needed. This time-saving feature becomes increasingly valuable as projects grow in scope and complexity.
The ripple effects of good drawing organization extend to every aspect of project management. From design teams to field staff, everyone stays updated on the latest revisions when drawings are logically structured. This synchronization prevents costly mistakes that might otherwise occur when working from outdated information.
Setting Up Drawing Areas
Before adding drawings to your Procore project, you need to ensure that the Drawing Areas feature is activated. This functionality allows you to separate drawings by building or structure, creating distinct sections for organized document management.
To enable Drawing Areas, log into your Procore account and navigate to your project's settings. Look for the Drawing Areas option, which might be located under advanced project settings. Toggle this setting to activate the feature for your project. Remember that you'll need 'Admin' level permissions on the project's Drawings tool to make these changes.
If you've already uploaded drawings before enabling this feature, don't worry. Procore automatically places existing drawings in a default area called "Area 01," which you can rename later to better reflect your project structure. This automatic organization ensures no documents are lost during the transition to using Drawing Areas.
The Drawing Areas feature serves as the foundation for effective drawing management in complex projects. By establishing this structure early, you create a framework that supports clear communication and document control throughout the project lifecycle.
Creating New Drawing Areas
Once you've enabled the Drawing Areas feature, you can begin creating specific sections for each building or structure in your project. This organizational step sets the stage for efficient drawing management throughout the construction process.
To add a new drawing area, navigate to the Drawings tool from your project's main menu. Look for and click on the "Drawing Areas" link, which will display all current areas. Click the "+ Add Drawing Area" button, and a prompt will appear where you can enter a name for the new area. Best practice suggests naming areas according to their related building or structure—for example, "Building A" or "Main Office"—to simplify navigation for all team members.
After entering an appropriate name, click "Create" to finalize the new drawing area. With the area established, you can immediately begin uploading drawings directly into this section, maintaining organization from the start. This proactive approach prevents the common problem of having to reorganize documents later in the project when time is more limited.
Drawing areas function as virtual folders that keep related documents together. This organization becomes particularly valuable when multiple team members need to access drawings simultaneously or when comparing similar elements across different structures. The clear separation reduces errors and improves collaboration throughout the project lifecycle.
Uploading Drawings Effectively
After establishing your drawing areas, the next crucial step involves uploading your drawings properly. Procore utilizes Optical Character Recognition (OCR) to automatically extract information from your documents, streamlining the organization process.
Before uploading, verify that you have the necessary permissions in the system. You'll need 'Admin' access or a permission level that specifically allows uploading drawings. Check that your permission template includes "Upload Drawings" or "Upload and Review Drawings" capabilities. Additionally, ensure your drawings meet Procore's format requirements—they should be in PDF format (version 1.6 or later) and must not be encrypted, password-protected, or corrupt.
The actual upload process begins by accessing the Drawings tool from your project's navigation panel. Click "Upload Drawings" to open the upload prompt, then select "Attach Files" to begin. You can either drag and drop files or browse to select them from your computer or network. Procore processes each multi-page PDF by splitting it into individual drawing pages, making them easier to manage and reference.
Once files are attached, you'll need to specify whether to add them to an existing drawing set or create a new one. Fill in important details like set date, drawing date, and received date to maintain accurate records. Procore also offers advanced options for handling drawing revisions, allowing you to specify how revision numbers are formatted in your file naming convention.
Detailed Upload Process
The step-by-step process for uploading drawings requires attention to detail to ensure proper organization and accessibility:
- Navigate to the Drawings tool in your project dashboard
- Select the "Upload Drawings" button to initiate the process
- Click "Attach Files" and select your PDF drawings from your computer
- Choose whether to add to an existing drawing set or create a new one
- Enter all relevant dates and details for proper documentation
- Configure any necessary advanced options for revision handling
- Click "Process" to complete the upload and wait for email confirmation
After processing completes, Procore sends a notification email so you can review the uploaded drawings. This verification step ensures all information was correctly extracted and organized. Taking time to confirm these details prevents confusion later when team members reference these documents.
Adding Sketches and Annotations
Sometimes you need to quickly annotate existing drawings with sketches or notes. Procore makes this process straightforward by allowing you to add sketches directly to individual drawing revisions, creating a visual record of changes or clarifications.
To add a sketch, first navigate to the Drawings tool and locate the specific drawing you want to annotate. Click on its "Info" page to access detailed options. Look for the "Add Sketch" button, which opens a form with fields for the sketch details. You'll need to provide a unique number for the sketch (unique per drawing), the current date, a descriptive name, and a brief explanation of what the sketch represents. Finally, attach the sketch file either from your computer or from the project's Documents tool.
Sketches serve multiple purposes in construction documentation. They provide visual indicators for modifications, highlight areas needing attention, or illustrate proposed changes before formal revisions. This feature proves particularly valuable during field reviews when quick visual communication can resolve issues more effectively than written descriptions alone.
The ability to attach sketches directly to drawings creates a comprehensive record that keeps all related information together. Rather than searching through separate files or emails, team members can find all relevant annotations in the same location as the original drawing. This integration streamlines communication and reduces the risk of missing important details.
Drawing Management Best Practices
Successfully managing drawings involves more than just uploading files—it requires implementing effective processes throughout your workflow. These best practices will help your team maintain drawing organization and accessibility throughout the project lifecycle.
Consistent naming conventions form the foundation of effective drawing management. Always name drawing areas based on the building or structure they represent, such as "Building A" or "Site Main Office." When uploading individual drawings, ensure file names clearly reflect drawing numbers and revision details. This consistency improves OCR accuracy and helps team members quickly identify content without opening multiple files.
Rather than waiting until project completion to organize drawings, update your documentation continuously as revisions occur. This proactive approach prevents the common problem of working from outdated information. Take advantage of Procore's notification system to alert team members about recent uploads and revisions, ensuring everyone has access to the latest information at all times.
For projects with multiple buildings or phases, create separate drawing sets to reduce confusion. If a drawing set becomes cluttered over time, don't hesitate to rearrange or rename areas to better reflect the current project structure. This ongoing organization maintains clarity even as projects evolve and documentation expands.
Training plays a crucial role in successful drawing management. Ensure all team members understand their roles and have the necessary permissions to upload and edit drawings appropriately. Conduct regular training sessions to review Procore's Drawings tool, update procedures, and address any questions or challenges. These sessions reinforce good practices and help identify potential issues before they impact project progress.
Handling Revisions Effectively
Construction projects inevitably involve revisions, and managing these changes efficiently prevents confusion and errors. Procore offers advanced options for handling drawing revisions intelligently throughout the project lifecycle.
When configuring your drawing management system, decide whether revision numbers will be embedded within drawing numbers (like "A203.01") or kept separate. Configure the "Drawing No. Contains Revision" setting accordingly to ensure consistent handling. If using the "Get From Filename" option, establish specific formatting guidelines for your team. For example, you might use "Number_Title.pdf" when no revision is included, "Number_RevNumber_Title.pdf" when the revision follows an underscore, or "Number.RevNumber_Title.pdf" when the revision follows a decimal point.
Some projects require maintaining multiple current drawing sets for the same building simultaneously. Although Procore might flag one set as non-current, you can manage this situation by placing them in different drawing areas. This approach allows each set to remain independent despite having identical drawing numbers. Use clear naming conventions to indicate which drawing set corresponds to specific project phases or buildings, preventing confusion when stakeholders reference the documents.
For large, complex projects with multiple phases, consider using sub-jobs or separate drawing sets for each phase. Assign phase identifiers within drawing numbers (such as ".1" or ".2") to mark changes between project stages. Create distribution groups in your project directory for team members relevant to each phase, helping them focus on the drawings most pertinent to their work without being overwhelmed by the entire document library.
Integrating with Project Workflow
Drawing management doesn't exist in isolation—it's an integral component of your overall project management approach. Integrating drawing updates into routine processes ensures documentation remains current and accessible to everyone who needs it.
Schedule regular review sessions with your design team and project managers to examine new uploads and revisions. These proactive audits verify that every update meets quality standards and that any discrepancies are promptly addressed. Use Procore's collaboration features like markups and sketches to discuss issues directly on the drawings themselves, creating an efficient feedback loop that keeps all stakeholders aligned on project details.
Ensure that changes in drawings are reflected in related submittals and specifications. This cross-referencing becomes particularly important during project closeout when as-built drawings are compiled. Maintain records of change orders, requests for information (RFIs), and other submittal documents that impact drawings. This comprehensive archive explains why certain revisions were made, providing valuable context for future reference.
Take advantage of Procore's mobile applications to access and update drawings from anywhere. Field workers can quickly check the latest versions, mark up revisions, or capture progress photos linked to appropriate drawings. This mobile accessibility eliminates delays caused by returning to the office for documentation and keeps information flowing smoothly between field and office teams.
Cloud Integration Benefits
Modern construction projects benefit tremendously from cloud-based drawing management solutions. Procore's integration capabilities extend its functionality and create a more seamless workflow across your technology ecosystem.
Procore integrates with popular cloud storage services like Box, OneDrive, and Egnyte, allowing automatic synchronization of updated drawing files. This integration eliminates the manual process of transferring files between systems, reducing both time requirements and the potential for errors. When a drawing is updated in your cloud storage, it can automatically reflect in Procore, ensuring all team members work from the most current information regardless of which platform they access.
Third-party tool integration further enhances Procore's drawing management capabilities. Consider connecting with specialized applications like Drawboard Projects for real-time markup and collaboration or DroneDeploy for aerial imagery integration. These complementary tools extend functionality beyond Procore's native features, creating a comprehensive digital ecosystem tailored to your project's specific needs.
The cloud-based nature of these integrations enables true real-time collaboration across distributed teams. Team members in different locations can simultaneously view, comment on, and update drawings, eliminating the delays associated with traditional document sharing methods. This immediate access to current information accelerates decision-making and keeps projects moving forward efficiently.
Security remains paramount when managing sensitive construction documents. Procore's cloud integrations maintain robust security protocols while enabling convenient access. Role-based permissions ensure team members can only view and modify documents appropriate to their responsibilities, maintaining document integrity throughout the project lifecycle.
Notification and Communication Systems
Effective drawing management relies on timely communication about updates and changes. Procore's notification system keeps team members informed about drawing revisions without overwhelming them with unnecessary alerts.
Configure your notification settings to ensure the right people receive alerts about drawing updates. Procore allows customization based on drawing areas, drawing sets, or specific document types. This targeted approach prevents notification fatigue while ensuring critical information reaches those who need it most. Team members can receive immediate alerts for high-priority changes while getting digest summaries for less urgent updates.
The following notification strategies help maintain effective communication throughout your project:
- Role-based alerts ensure superintendents receive field-relevant drawing updates while office staff get administrative document notifications
- Scheduled digests compile multiple updates into a single notification, reducing interruptions while maintaining awareness
- Priority indicators highlight critical revisions that require immediate attention from specific team members
- Comment notifications alert relevant parties when questions or discussions occur within drawing markups
Effective communication extends beyond simple notifications. Encourage team members to use Procore's commenting and markup features to discuss drawings directly within the platform. This approach keeps all communication in context with the relevant documents, creating a clear record of decisions and changes that anyone can reference later.
Mastering Drawing Management
By implementing these strategies for adding and managing drawings in Procore, you'll create a more organized, efficient project documentation system. The benefits extend beyond simple file storage to impact every aspect of project execution.
When drawings are properly organized by area and building, team members spend less time searching for information and more time applying it productively. This efficiency translates directly to reduced errors, faster decision-making, and improved project outcomes. The clear structure also simplifies onboarding new team members, who can quickly understand where to find the documents relevant to their responsibilities.
The real value of effective drawing management becomes most apparent during critical project phases like inspections, handovers, and warranty periods. Having a complete, well-organized drawing library provides the documentation needed to verify compliance, demonstrate quality, and address any issues that arise. This comprehensive record protects all stakeholders and creates a valuable reference for future maintenance or renovations.
Transform Your Project Documentation Today
Implementing effective drawing management in Procore represents a significant opportunity to improve your construction project outcomes. The time invested in proper setup and organization pays dividends throughout the project lifecycle and beyond.
Start by evaluating your current drawing management approach and identifying opportunities for improvement. Consider how drawing areas could better reflect your project structure and whether your naming conventions support clear organization. Review your team's permissions to ensure everyone has appropriate access to upload, view, and modify drawings according to their responsibilities. These foundational elements create the structure needed for successful drawing management.
Remember that effective drawing management is an ongoing process, not a one-time setup. Regular maintenance, consistent application of standards, and continuous team training maintain organization even as projects grow more complex. By making drawing management a priority and leveraging Procore's powerful tools, you'll create a more efficient, collaborative construction process that benefits everyone involved in your projects.

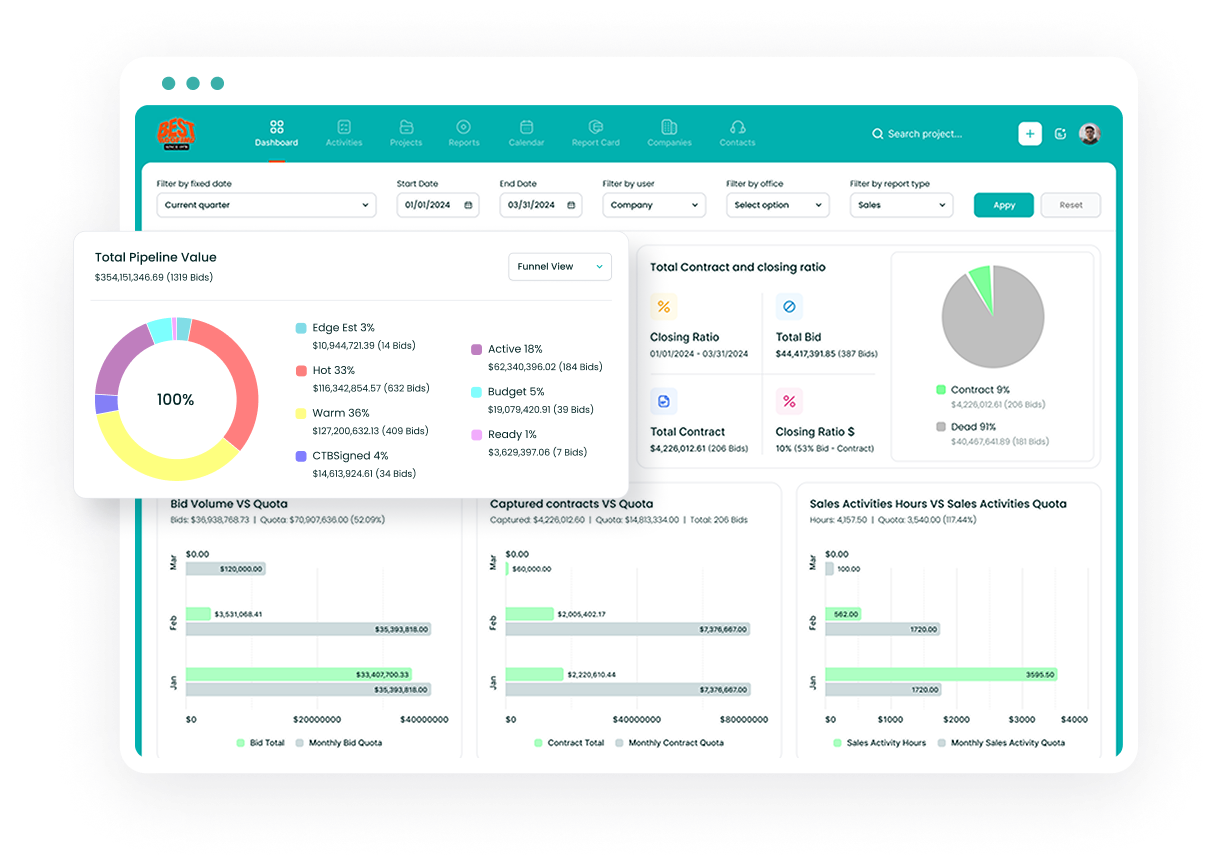
The CRM Built For Construction Companies
No more disorganized data. Track your leads, bids, and customers all in one place.
Seamless Integration with:
✅ Foundation ✅ Viewpoint ✅ Sage and more