With the CompanyCam and Followup CRM integration, you can create projects in either software that will automatically populate in the other, making it easy to keep track of job progress and updates as well as keep all your important documentation organized in one place. Here's how it works:
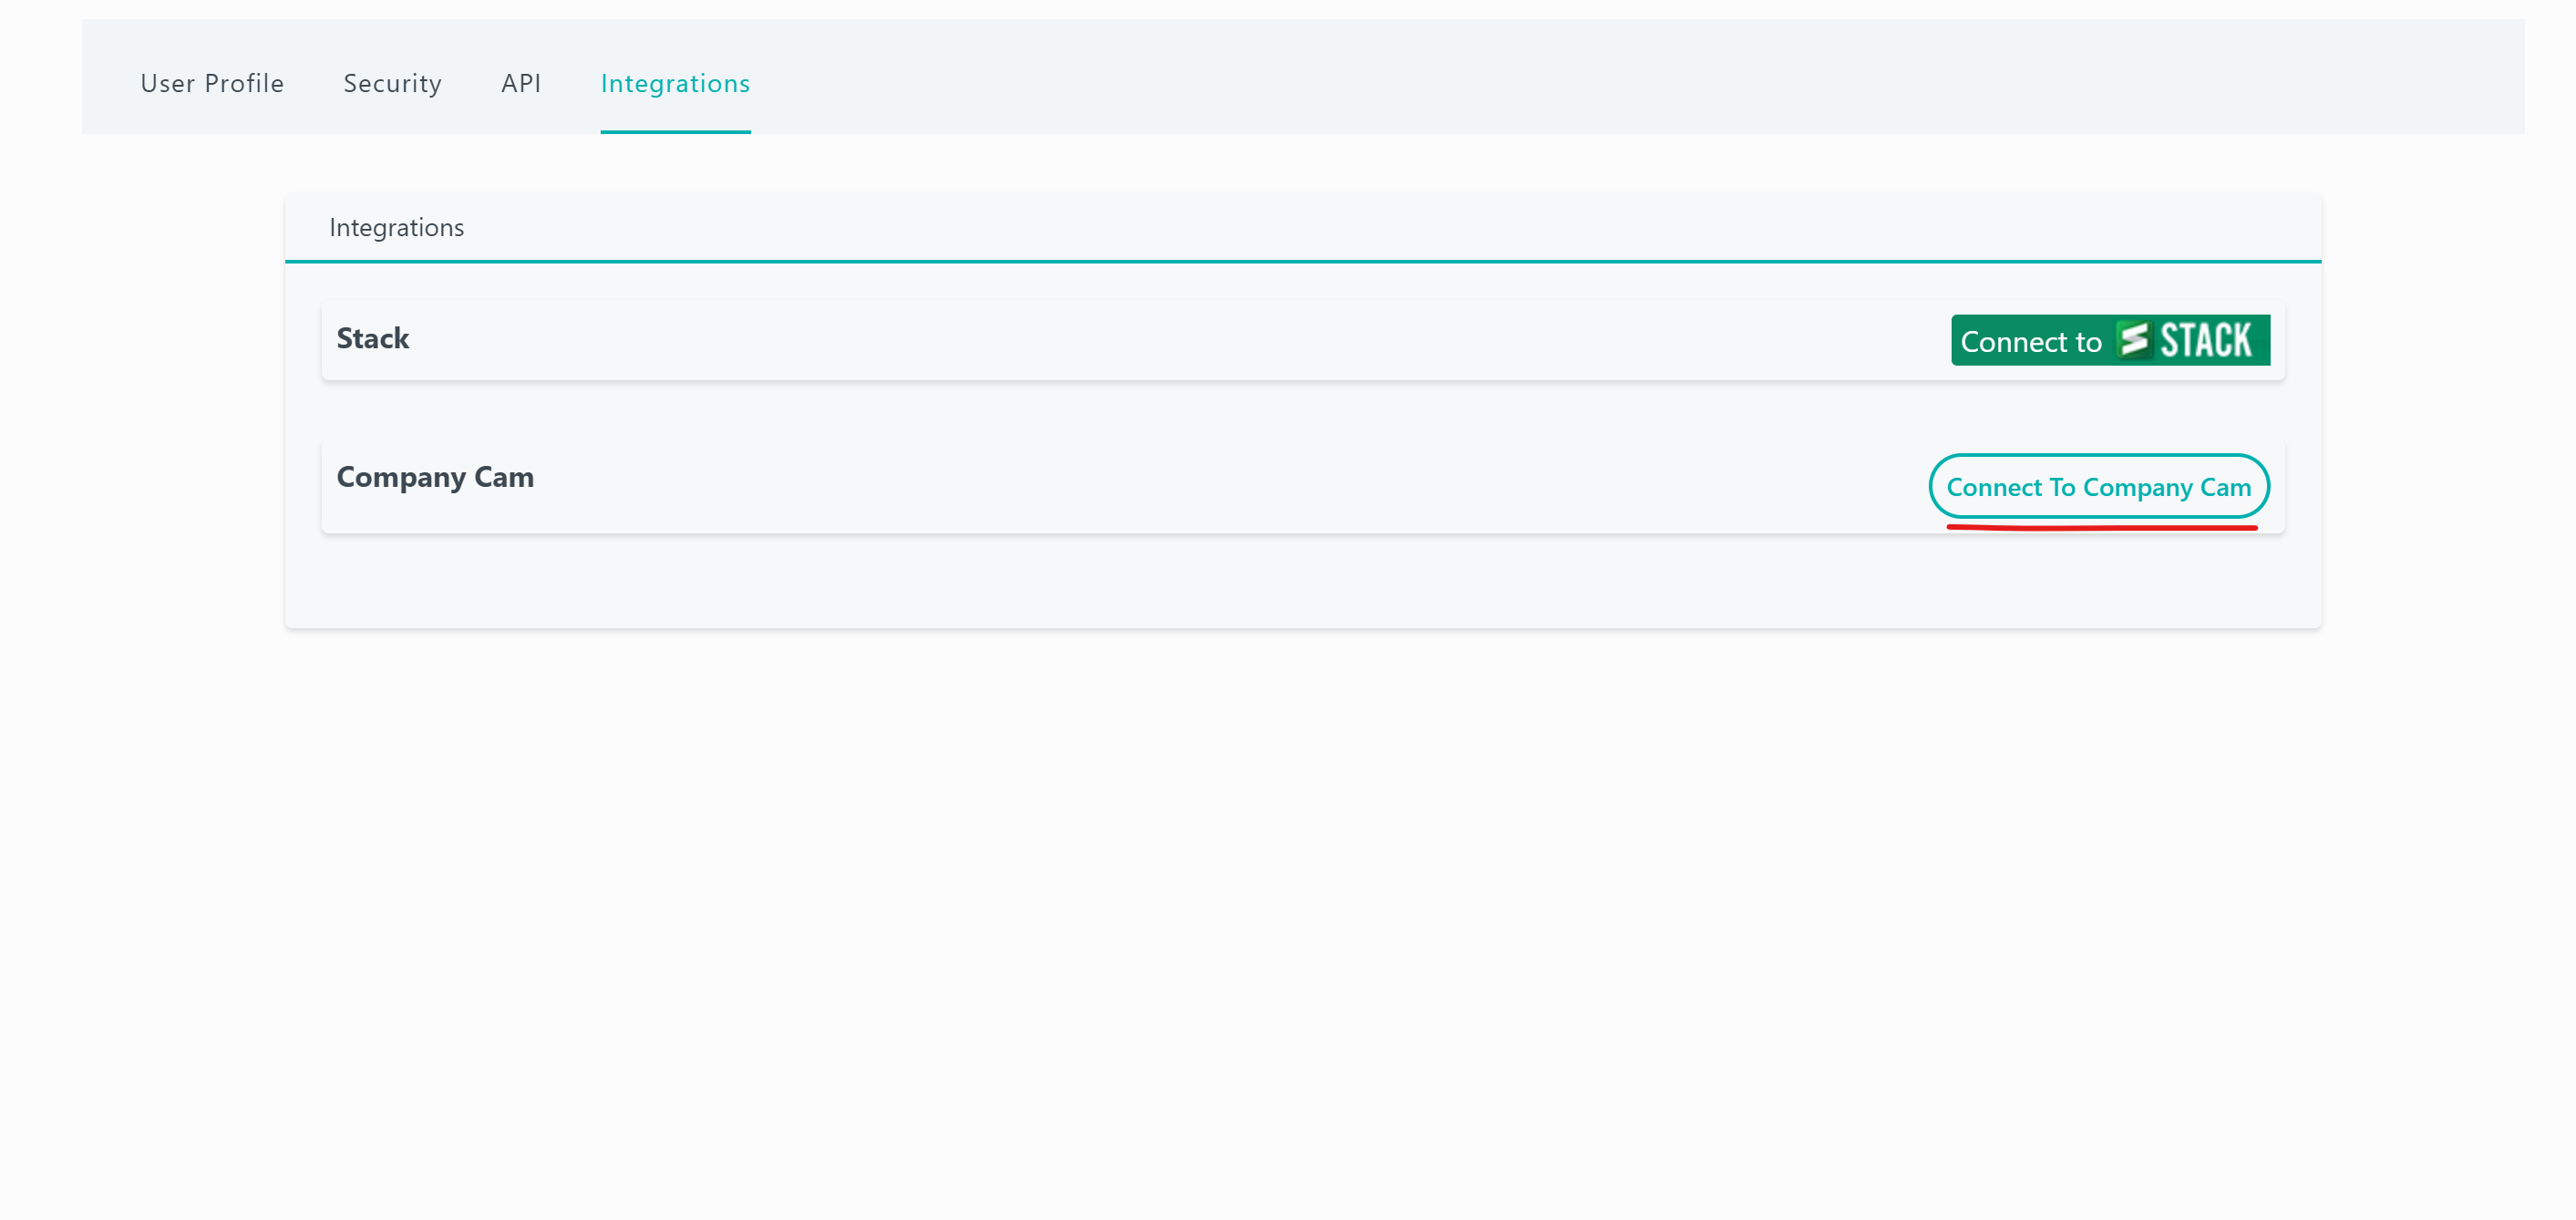
Connect to CompanyCam with Followup under Your Settings > Integrations.
Select the button to "Connect to Company Cam" and once that is finished, the next step is creating a new project in Projects.
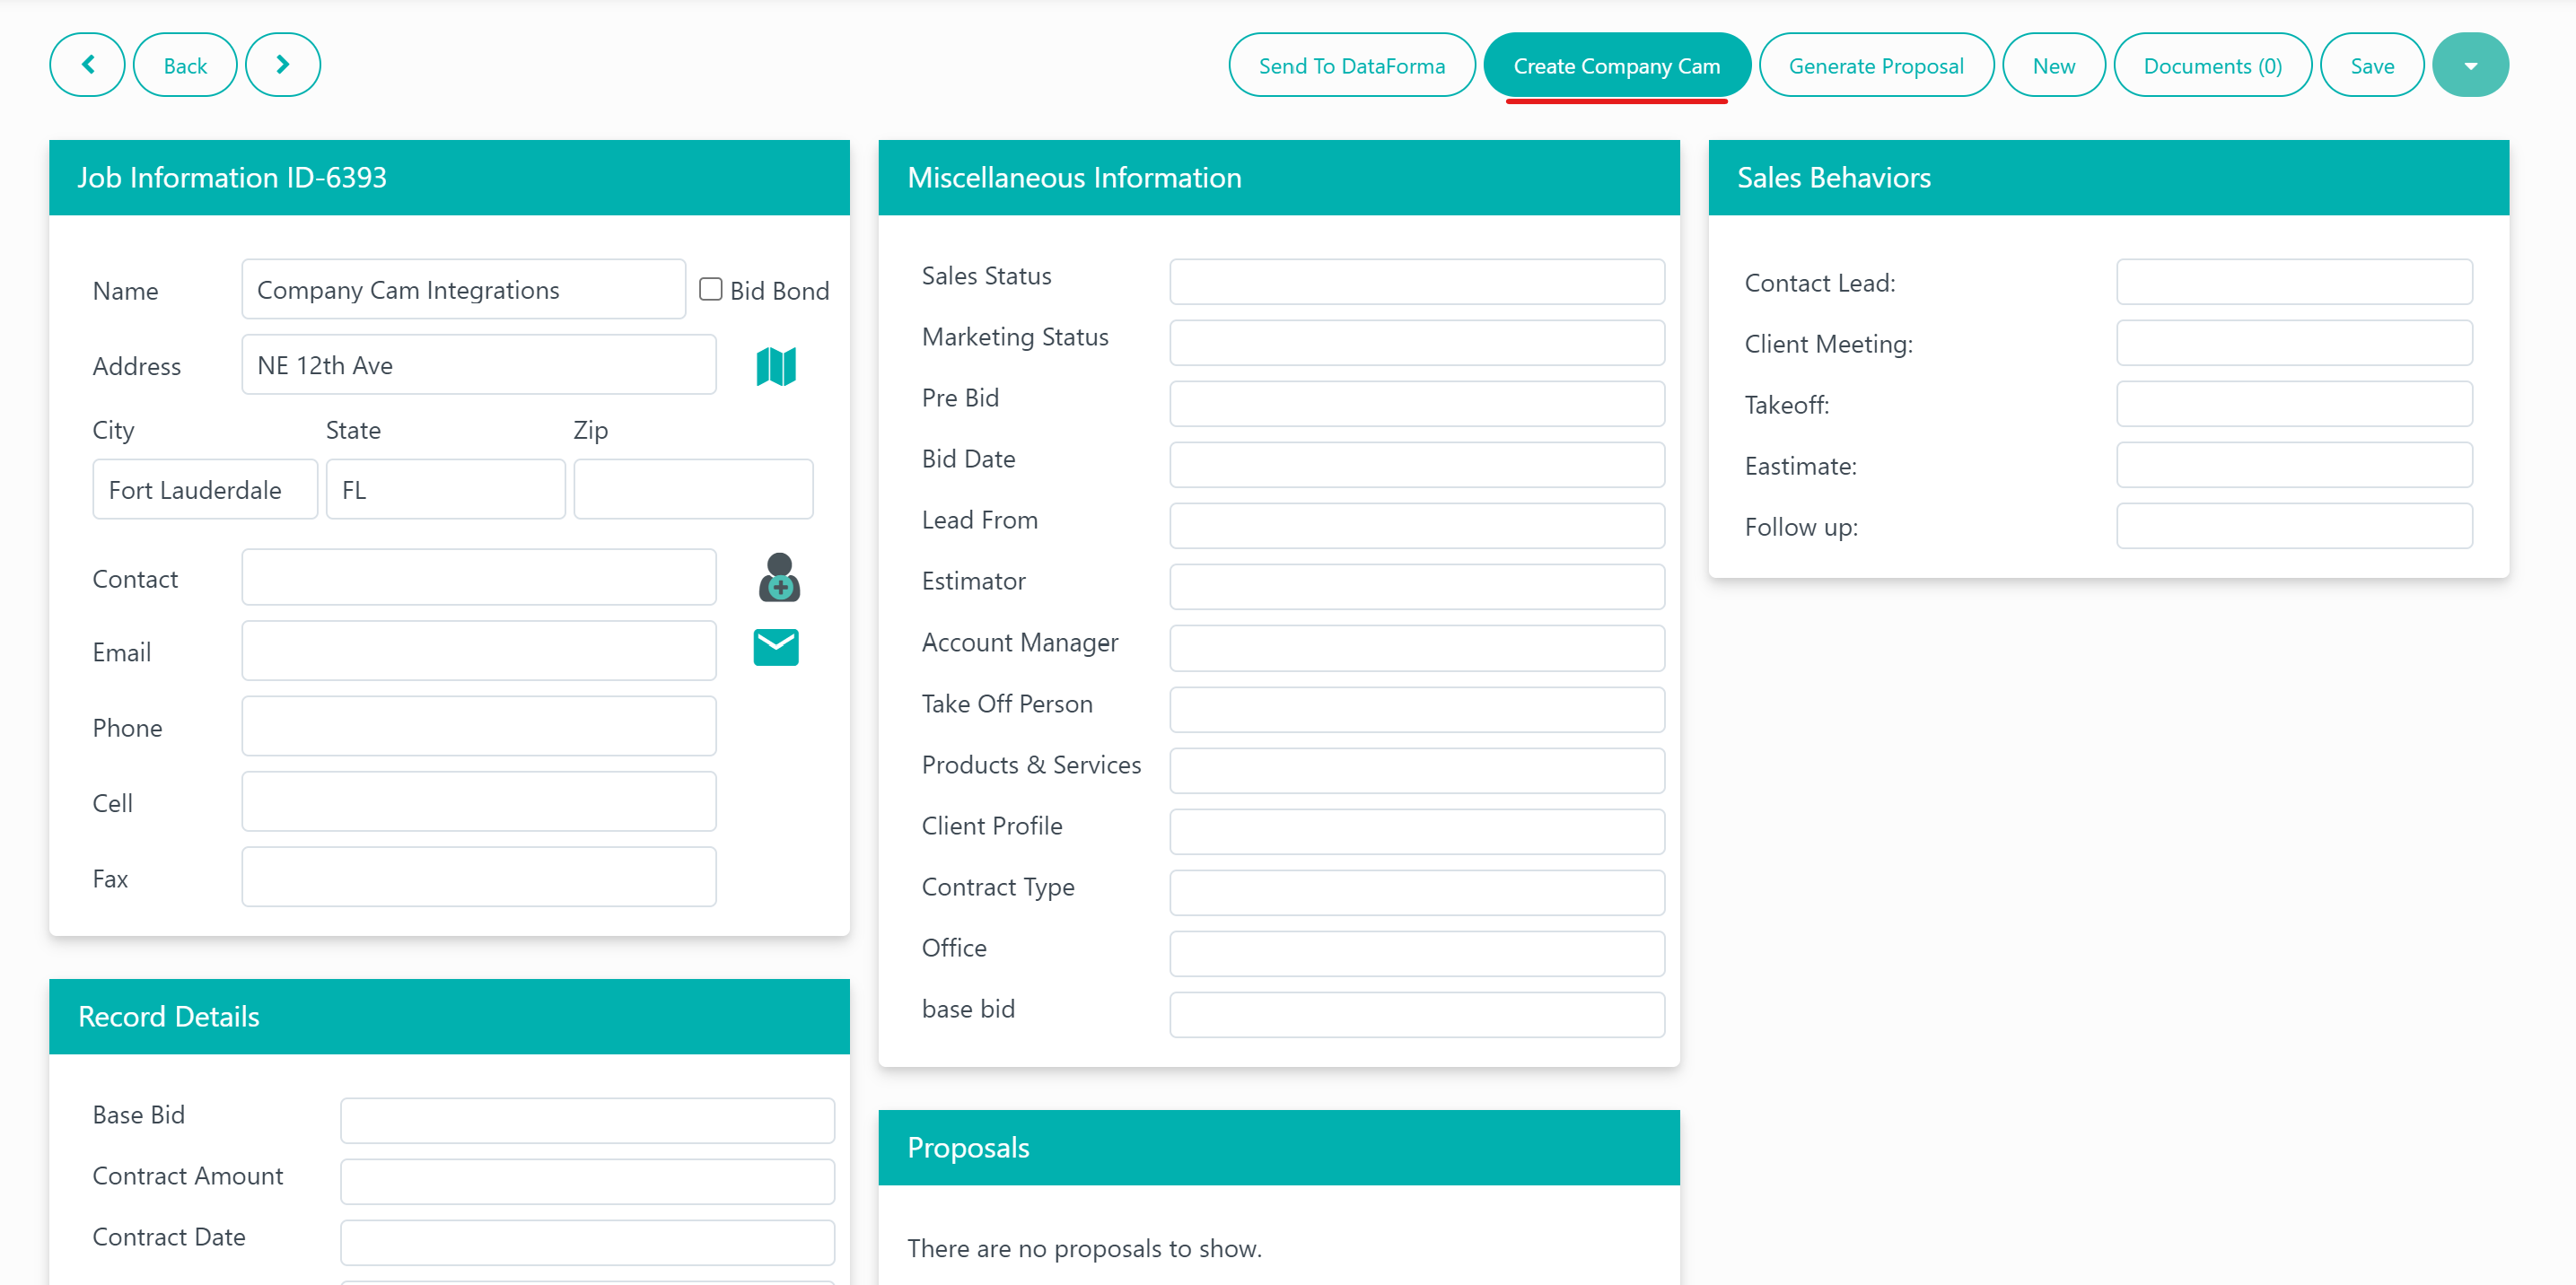
Under Projects, select New File and enter a project name, address, and any other fields you need. Click Save.
Now that you've created a new project, you'll be able to see a Create Company Cam button at the top.
Selecting this button will change it to View Company Cam.
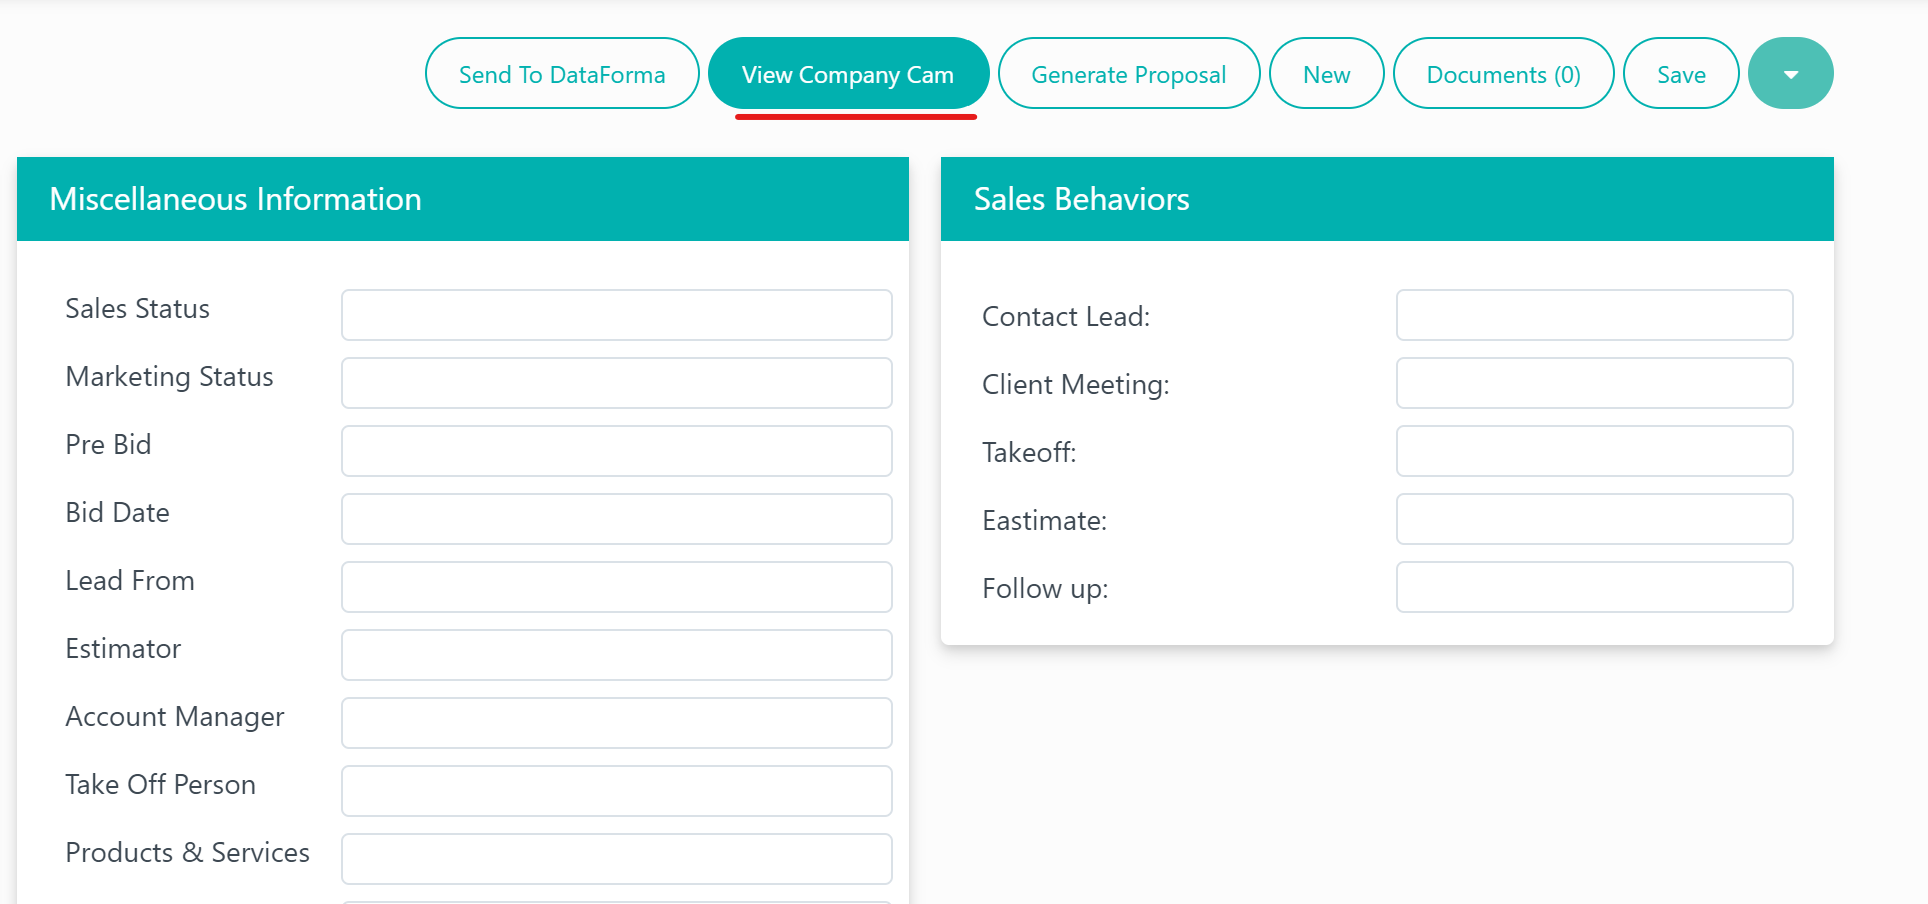
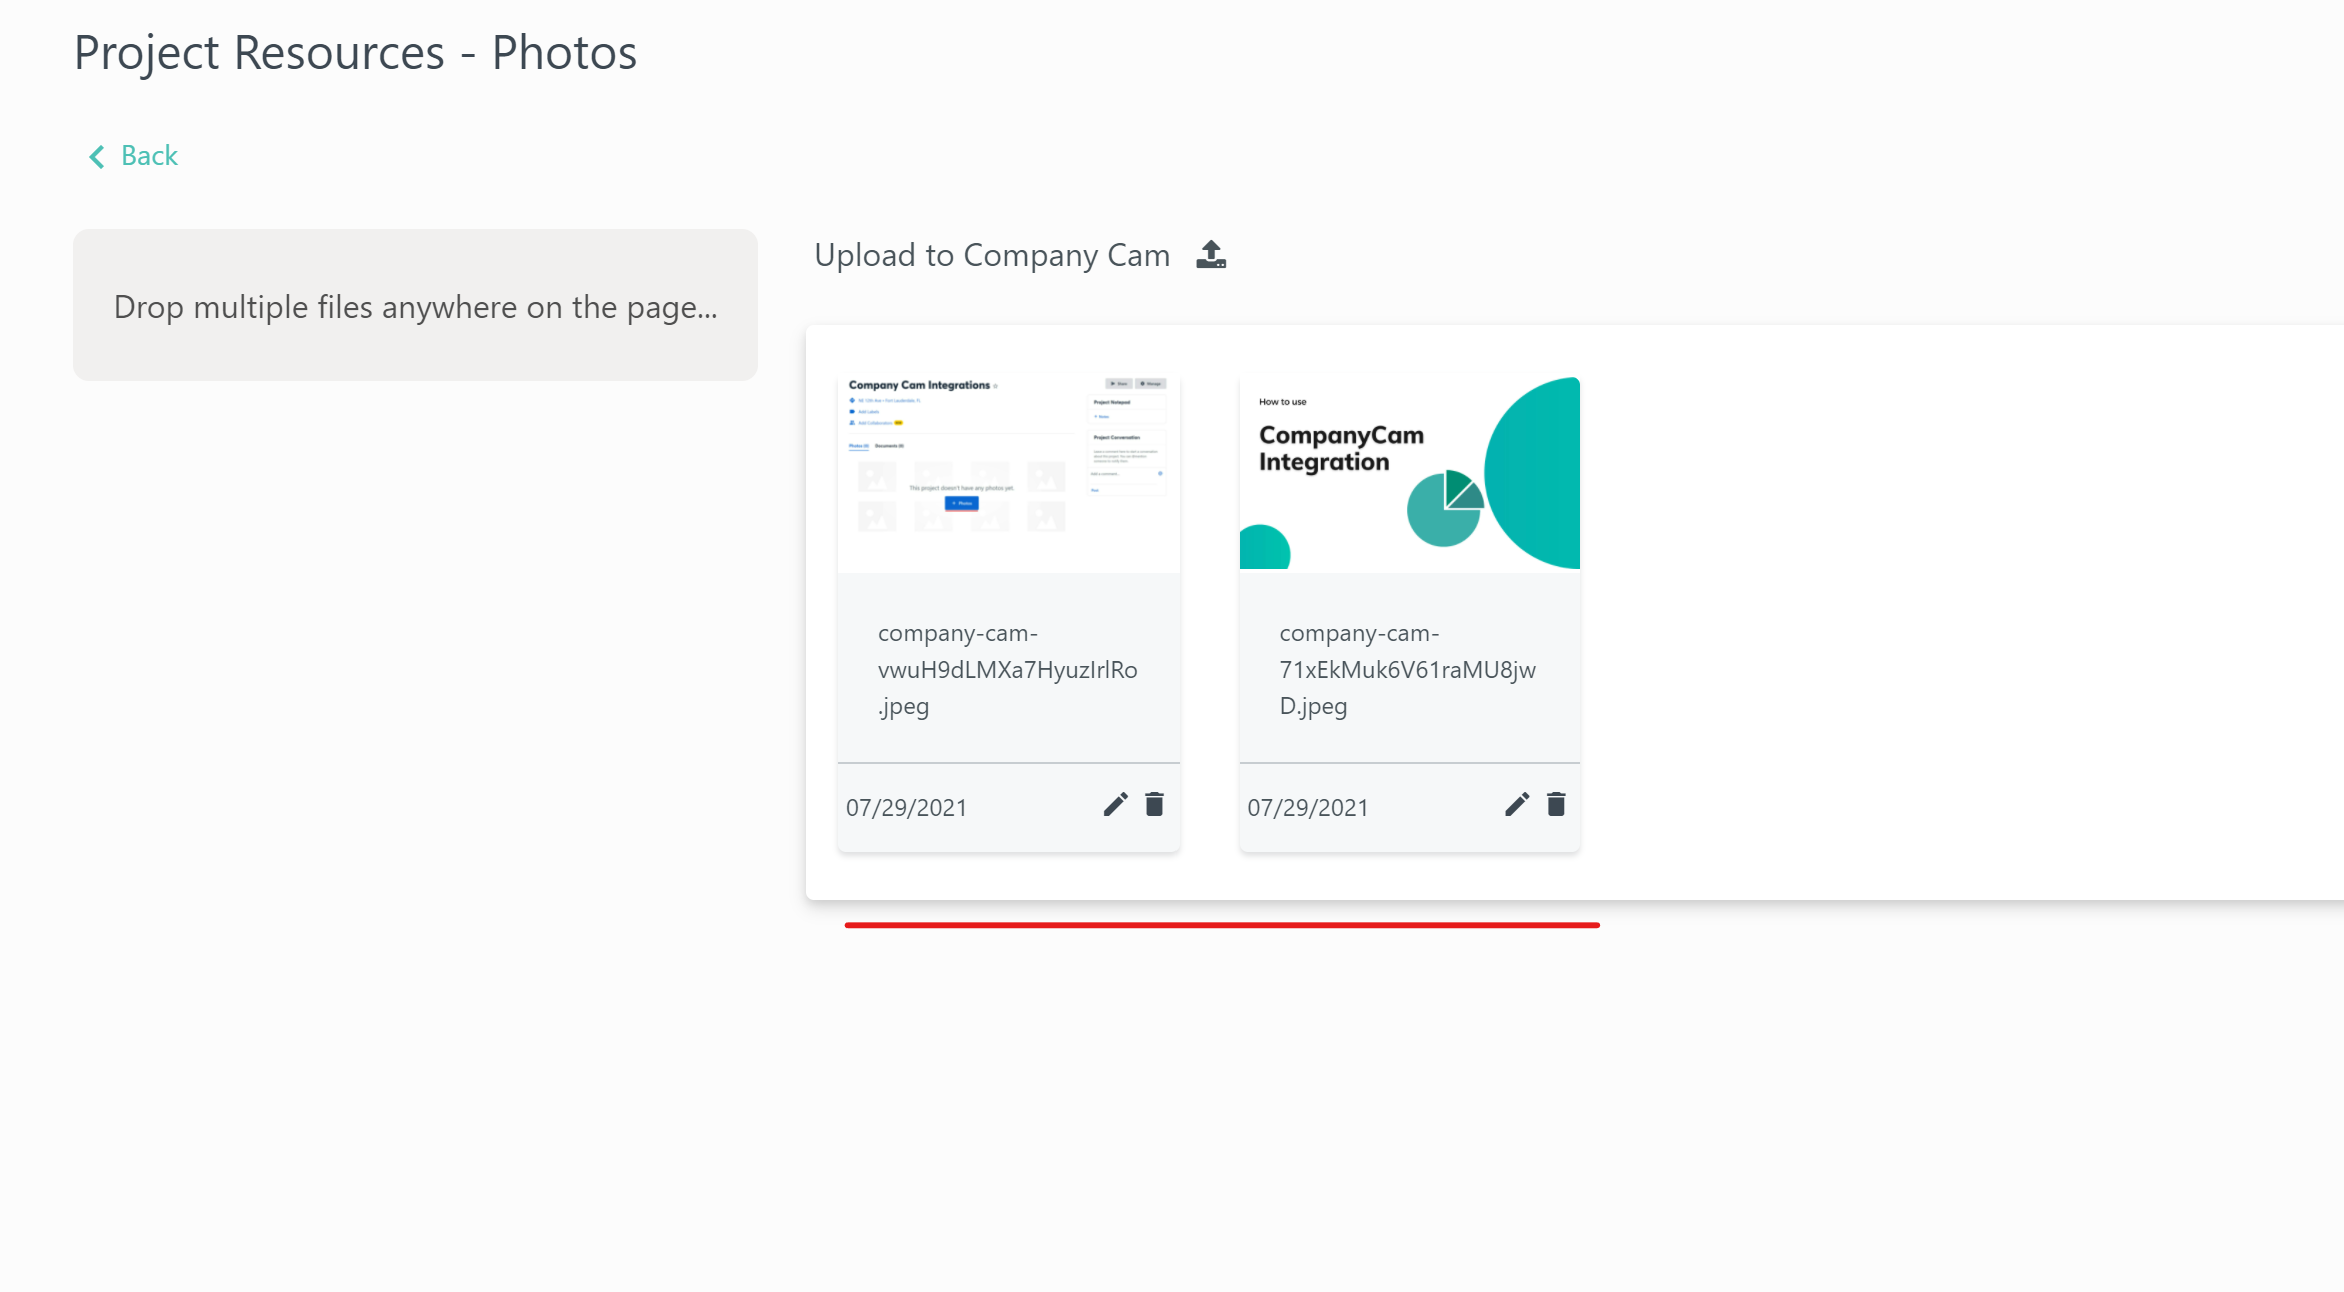
This button will take you to the CompanyCam website where you can see your new project and add photos. You can add photos straight from your desktop, or from your mobile device with the CompanyCam app.
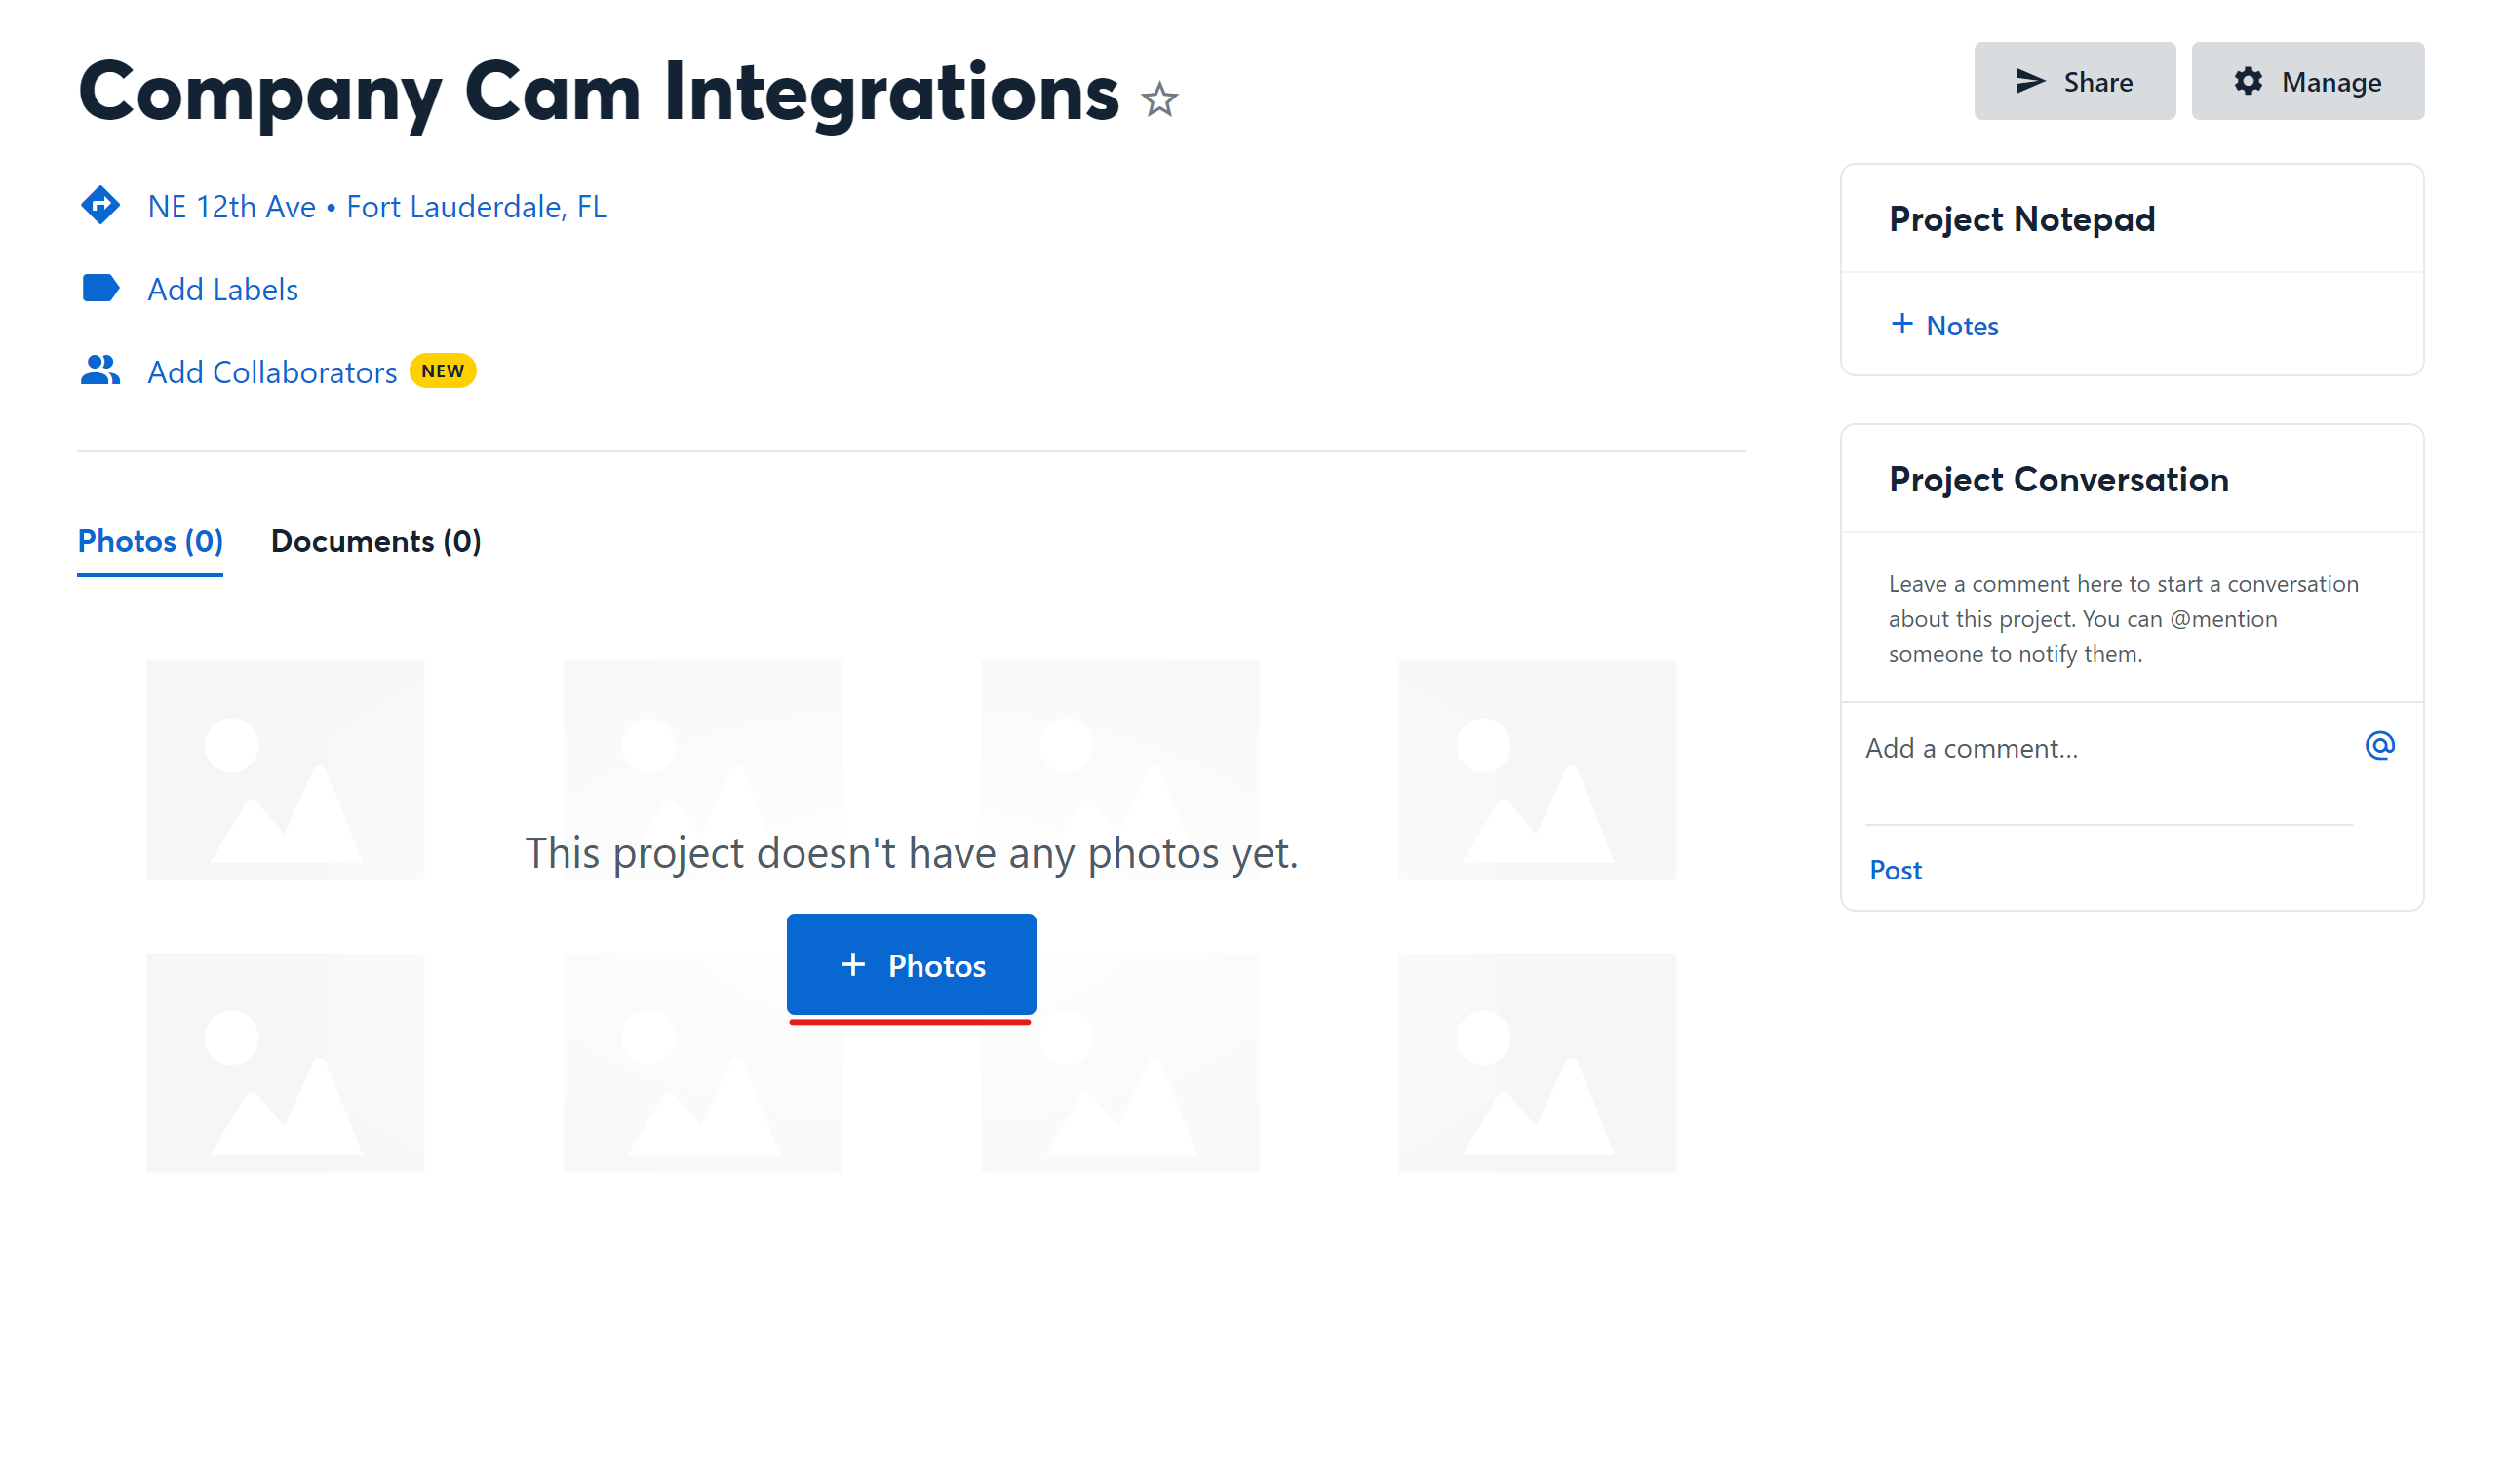
You can see the photos adding almost immediately to the project file.
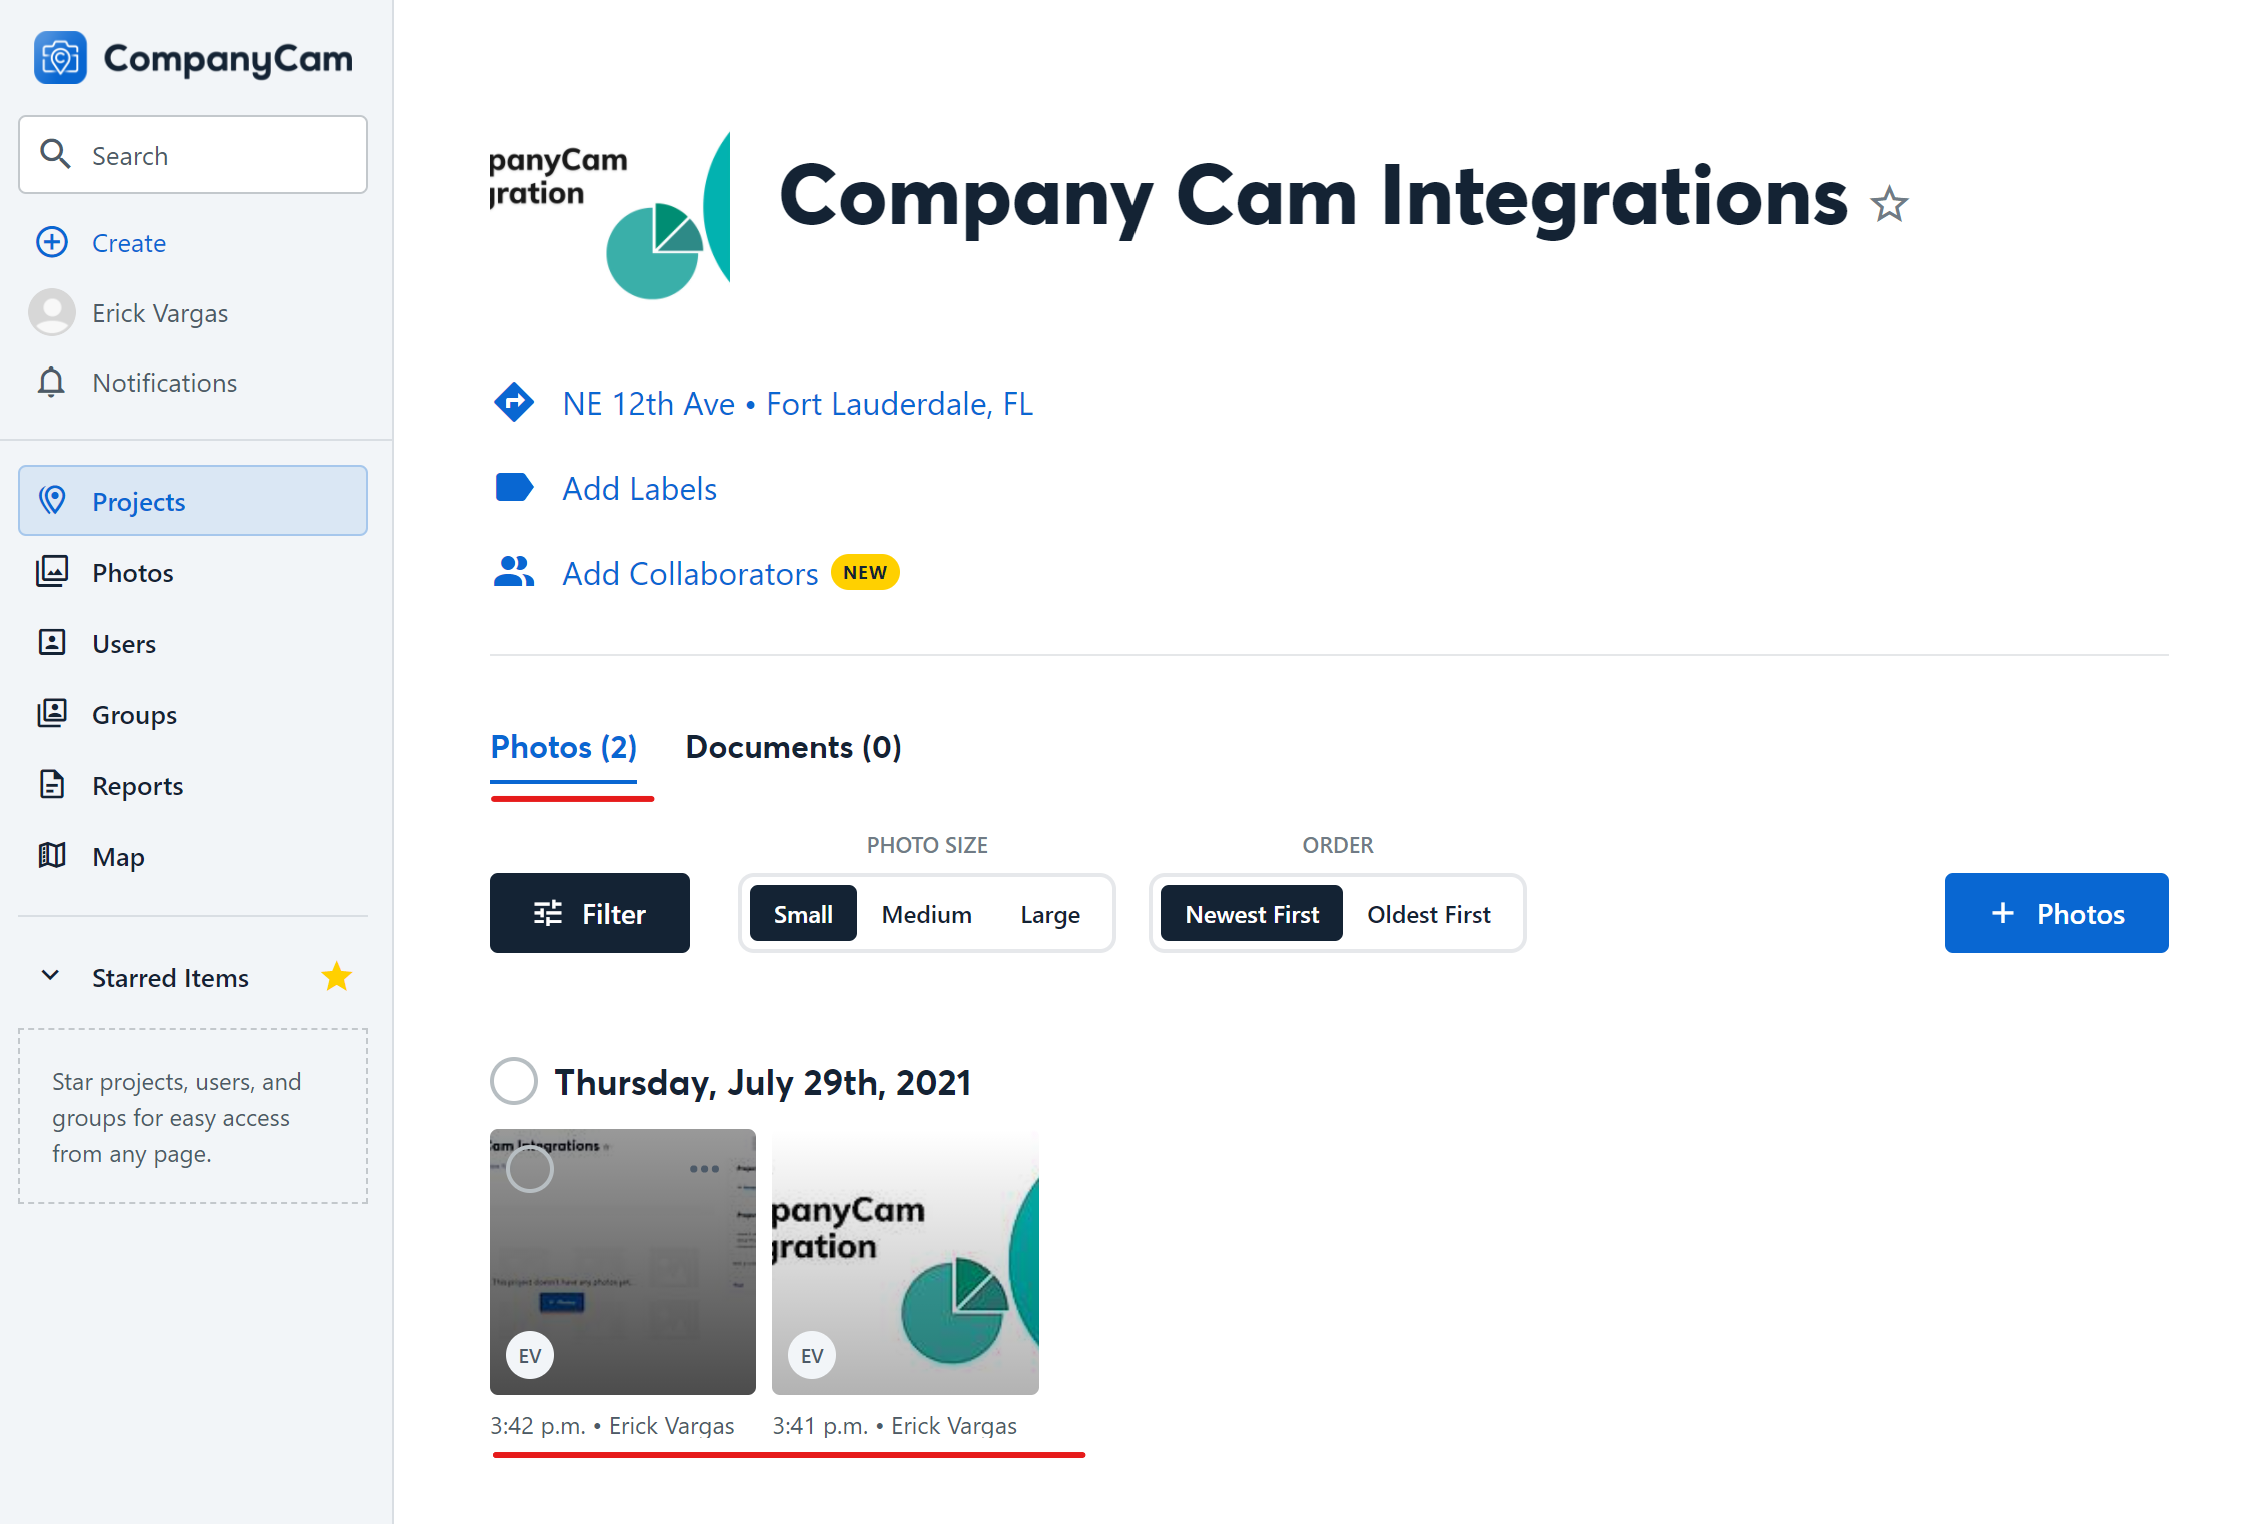
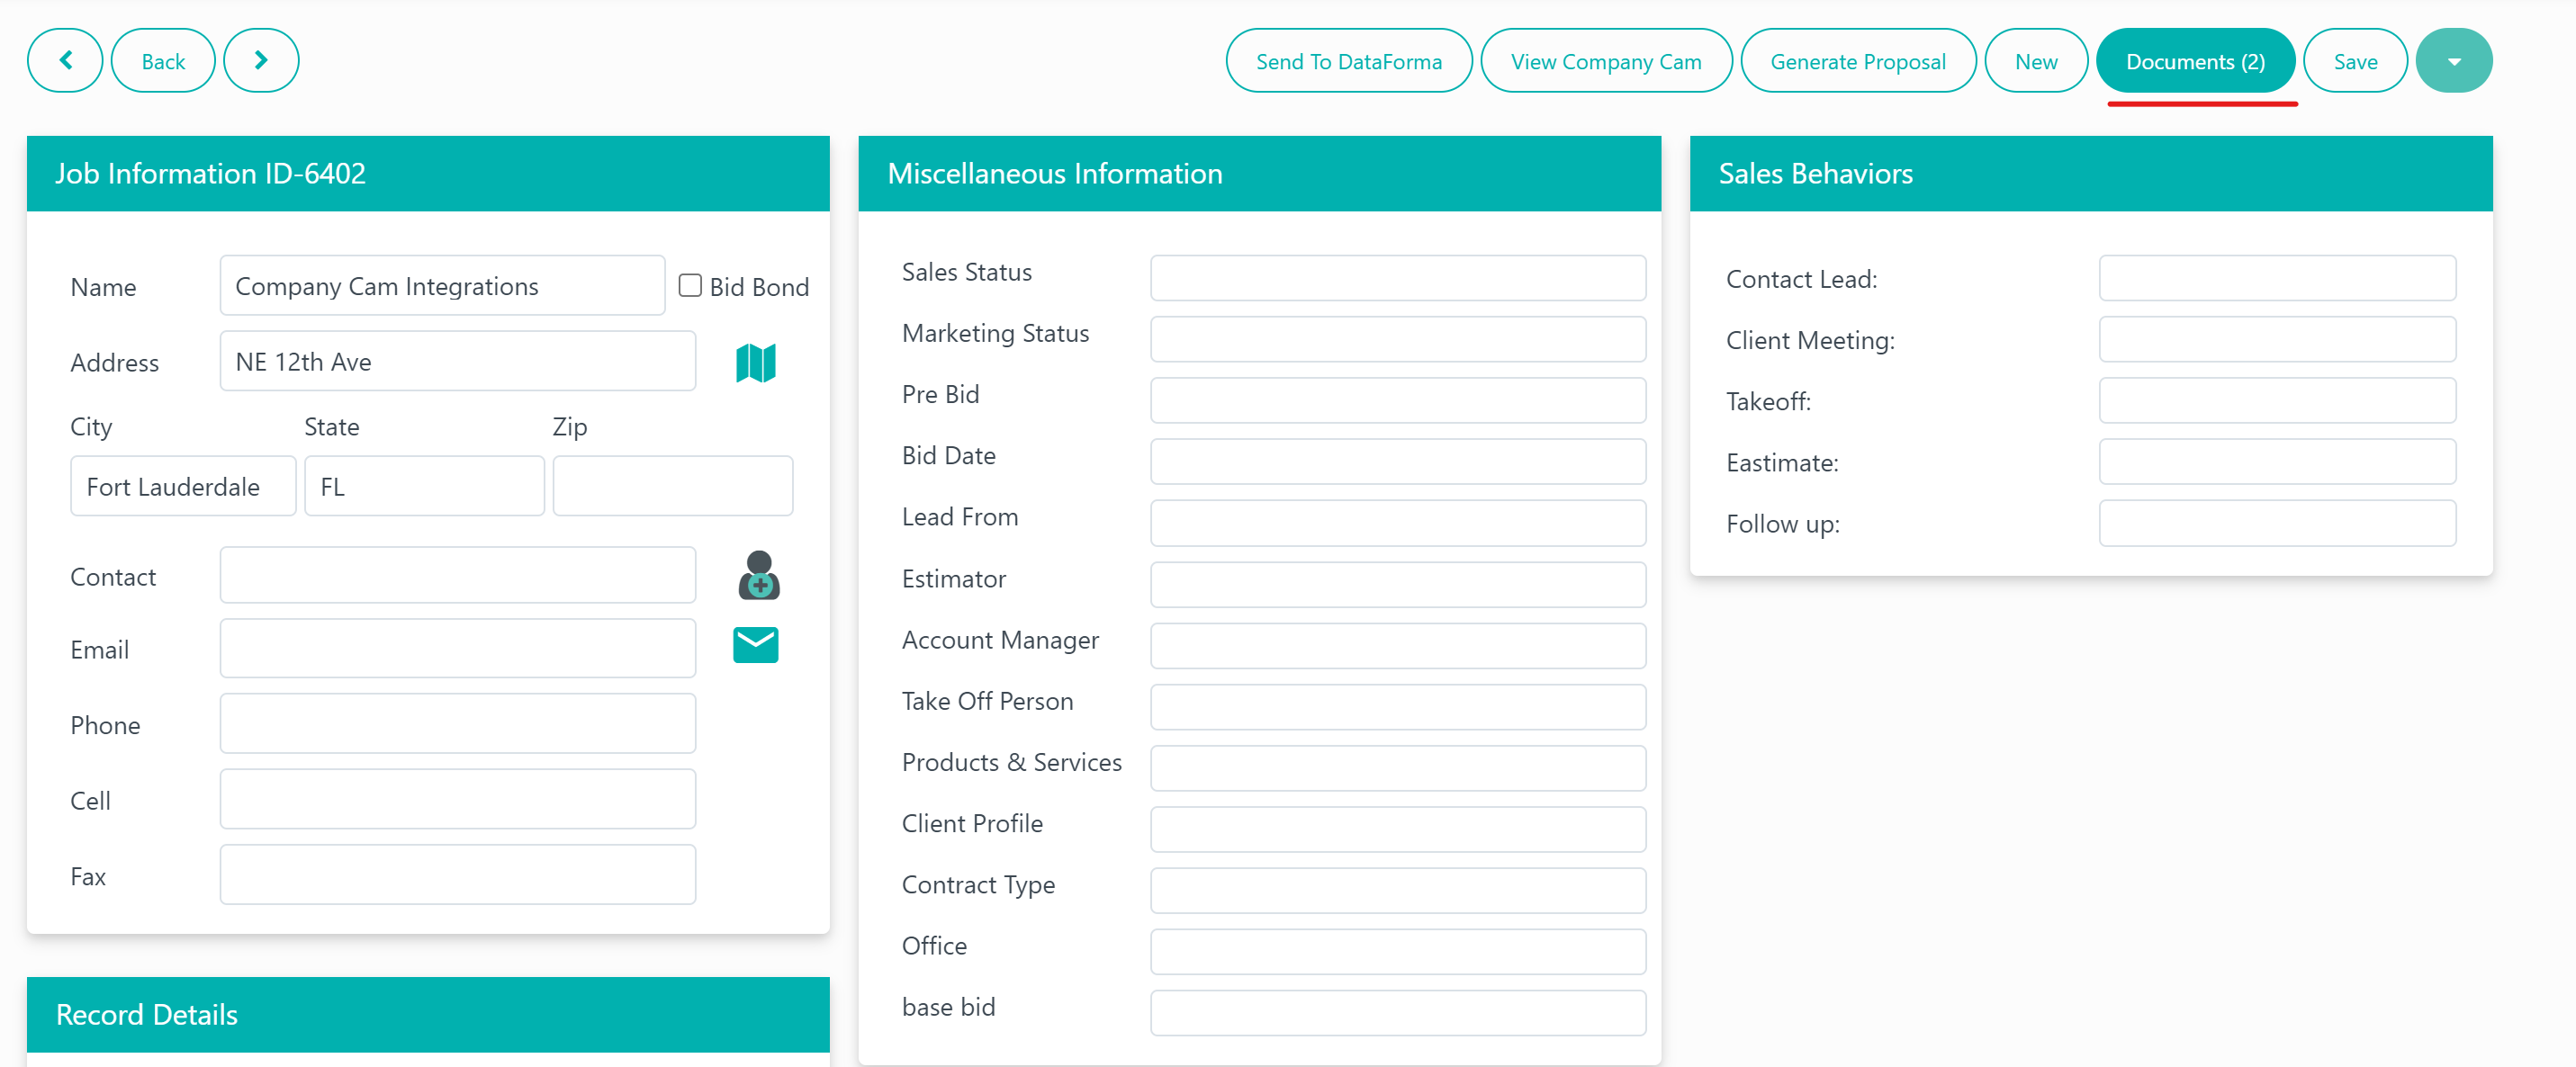
Now, you'll be able to go back to your Followup project, refresh the page, and then you'll be able to click on Documents,
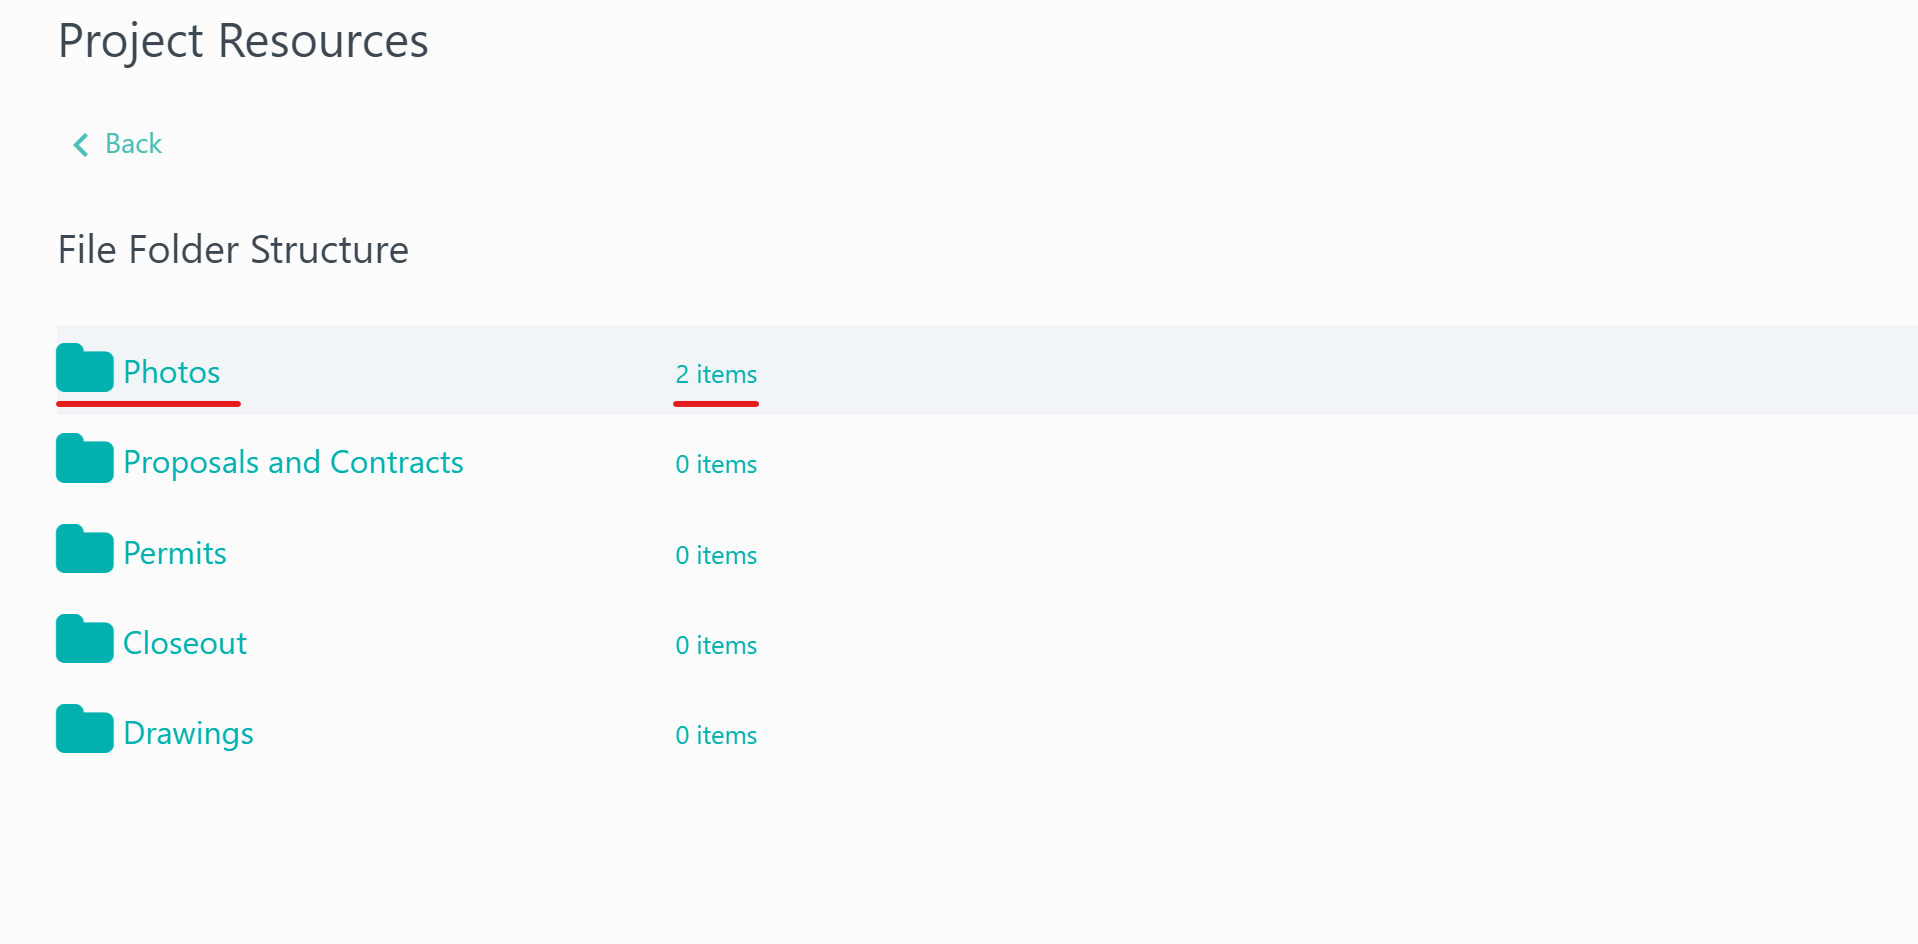
and see new items have been added under the Photos folder.
*Note*
- You can create a Photo folder by going to your company settings >> File Folders Tab >> press the "+" button and type in the word "Photos"
- If there is not a Photos folder present, the CompanyCam photos will automatically go to the first folder listed
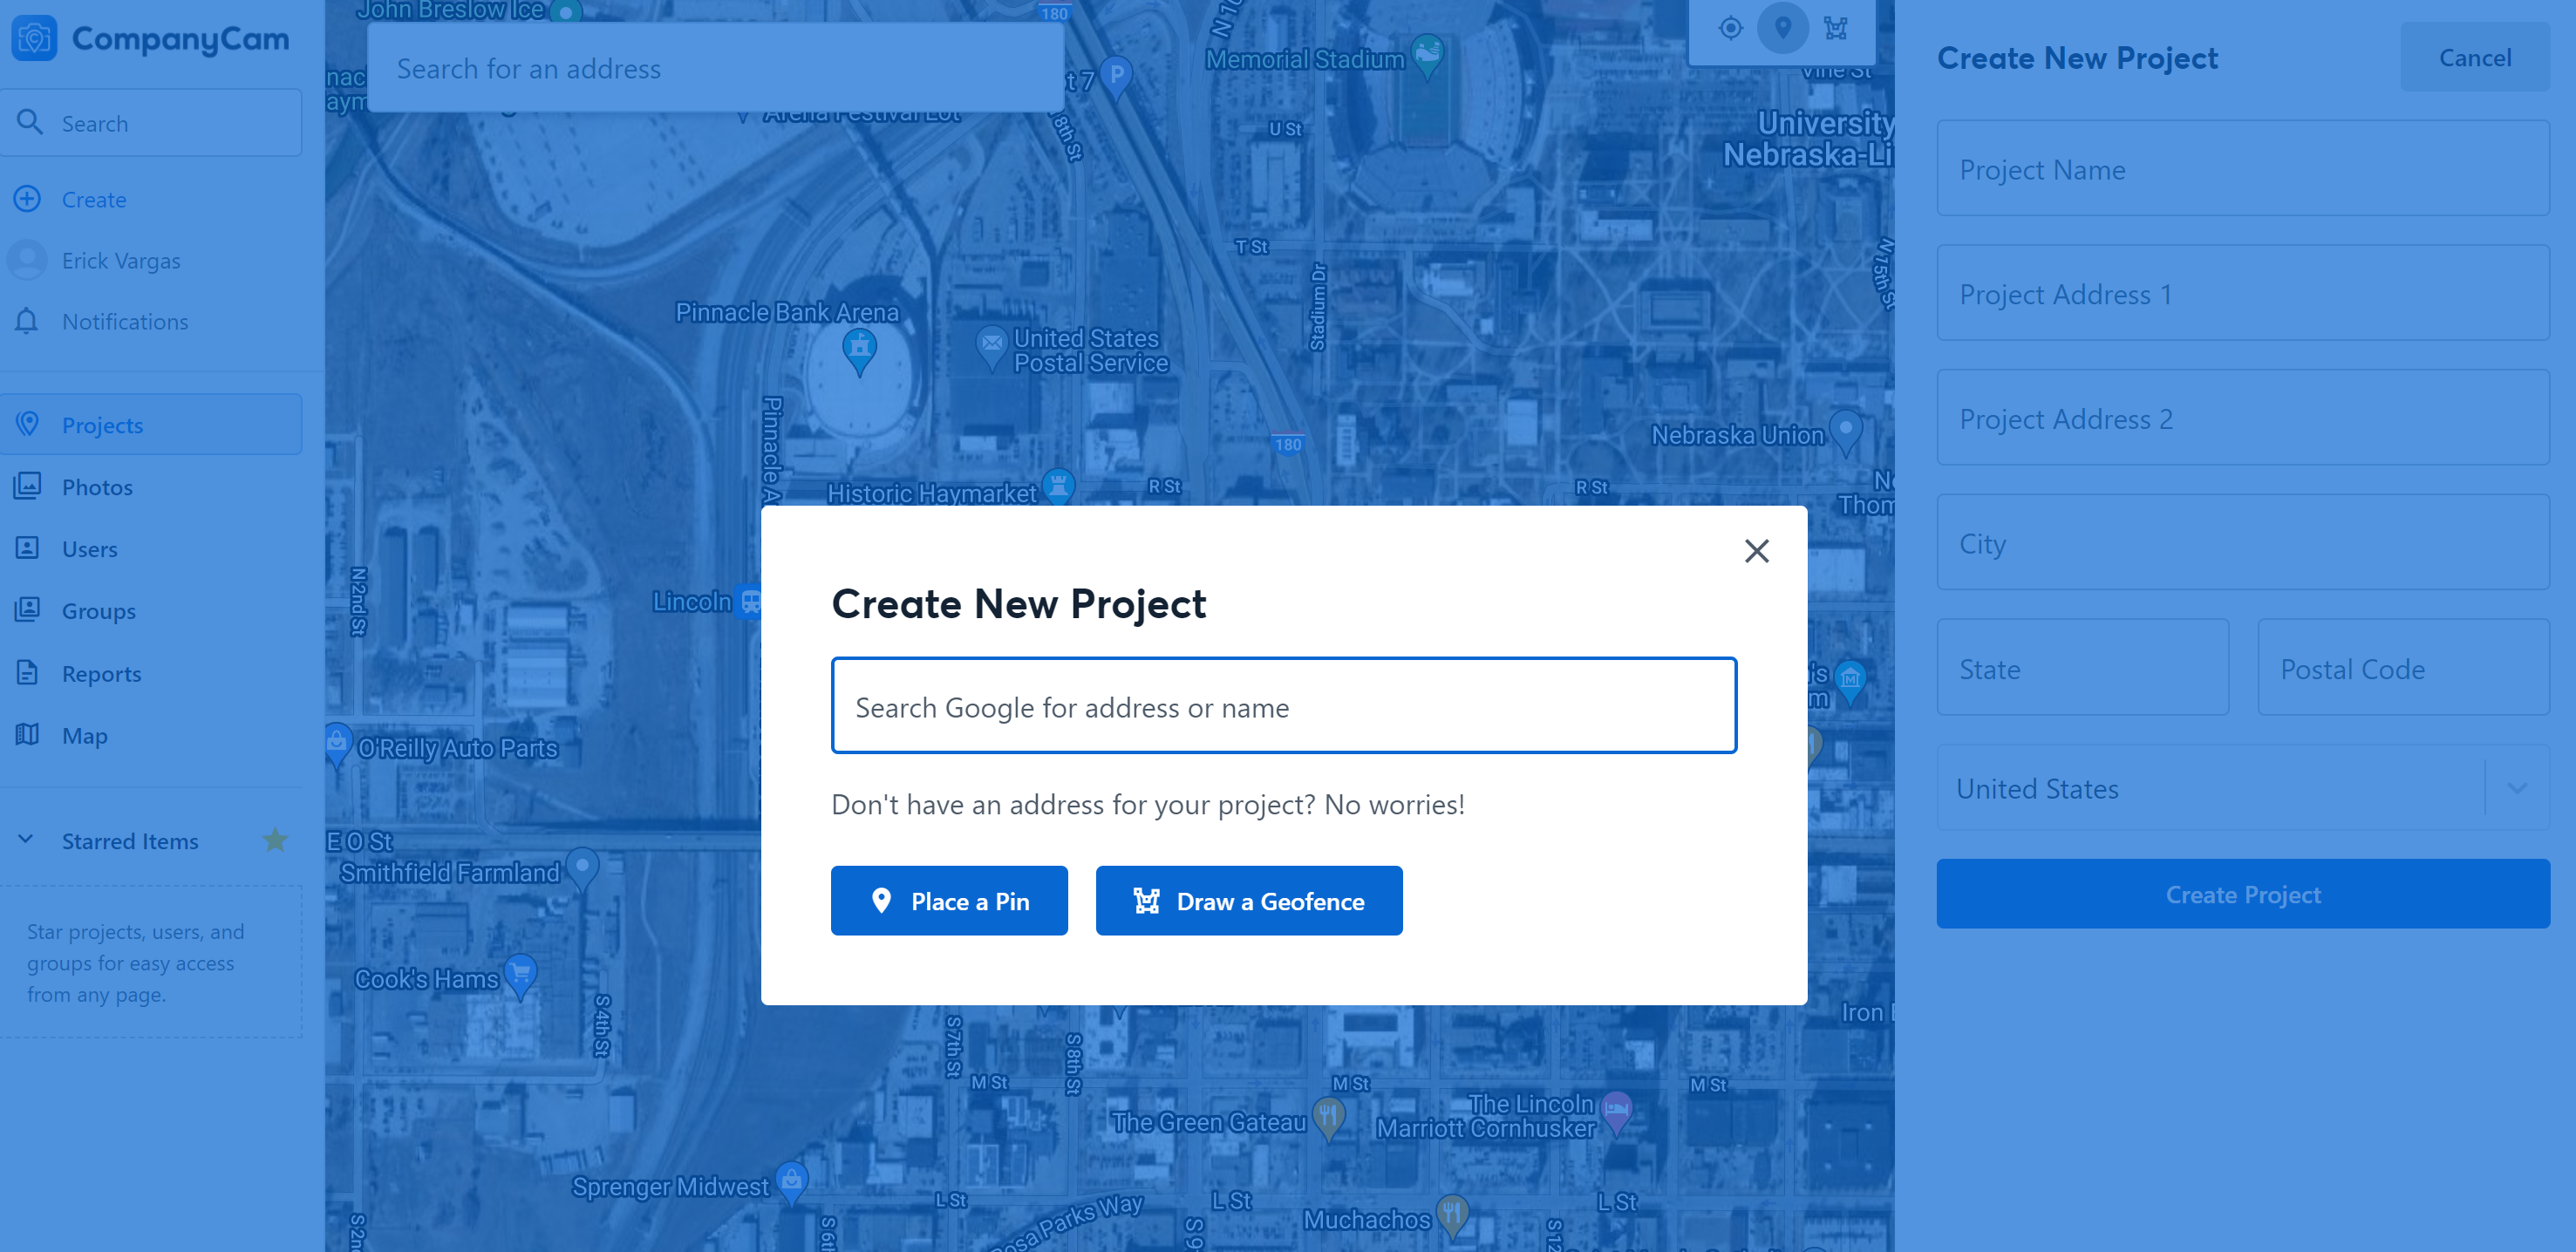
You can also create a new project in CompanyCam that will connect to Followup. Click, "Create a New Project" and then search for the Google address or name.
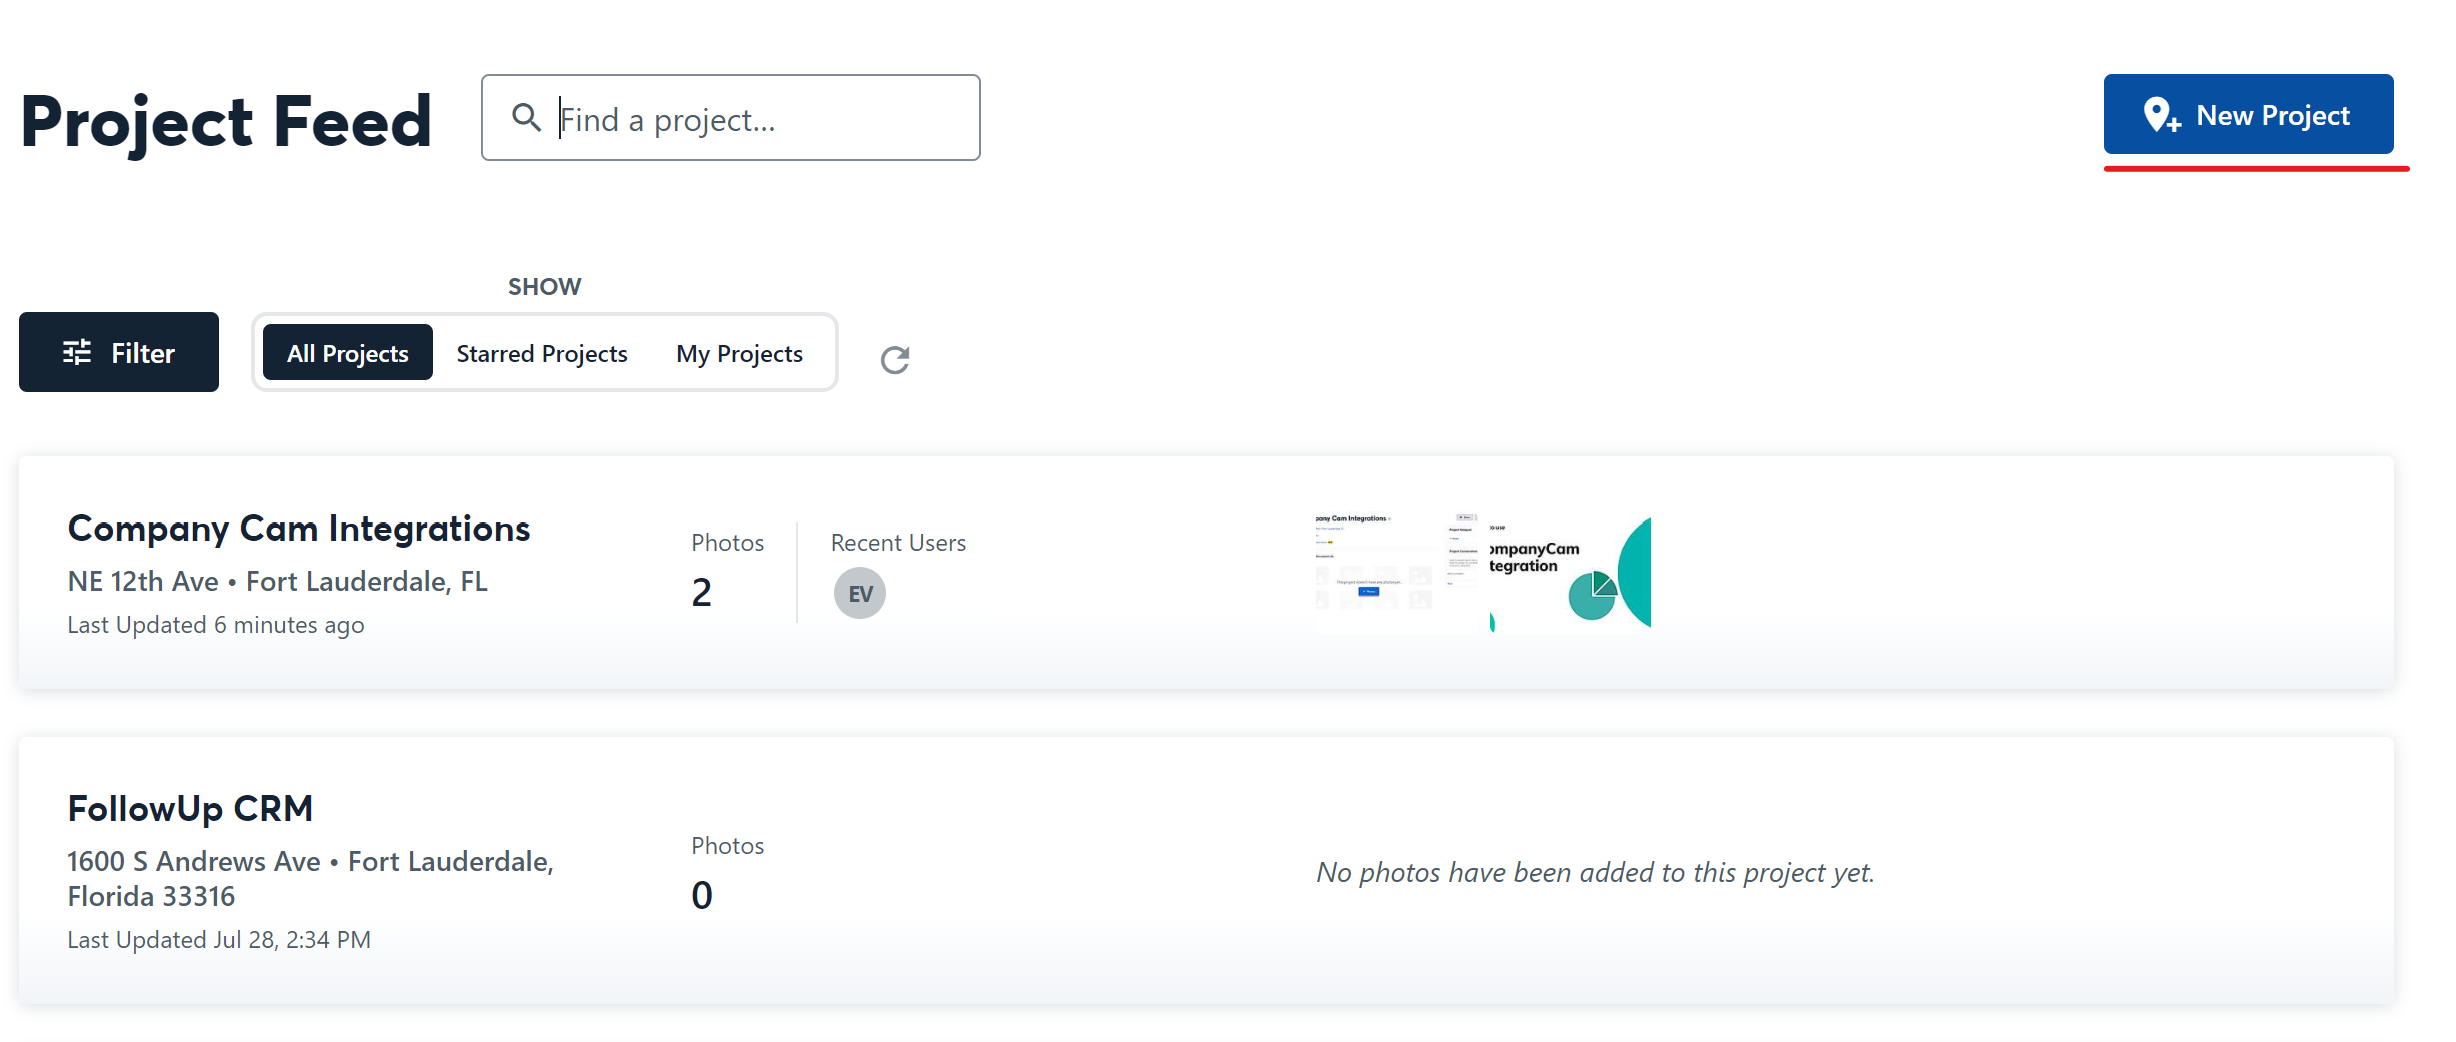
Now you can go back to Followup > Projects, refresh the page if needed, and you'll see the project created in CompanyCam has already been added to your Projects.
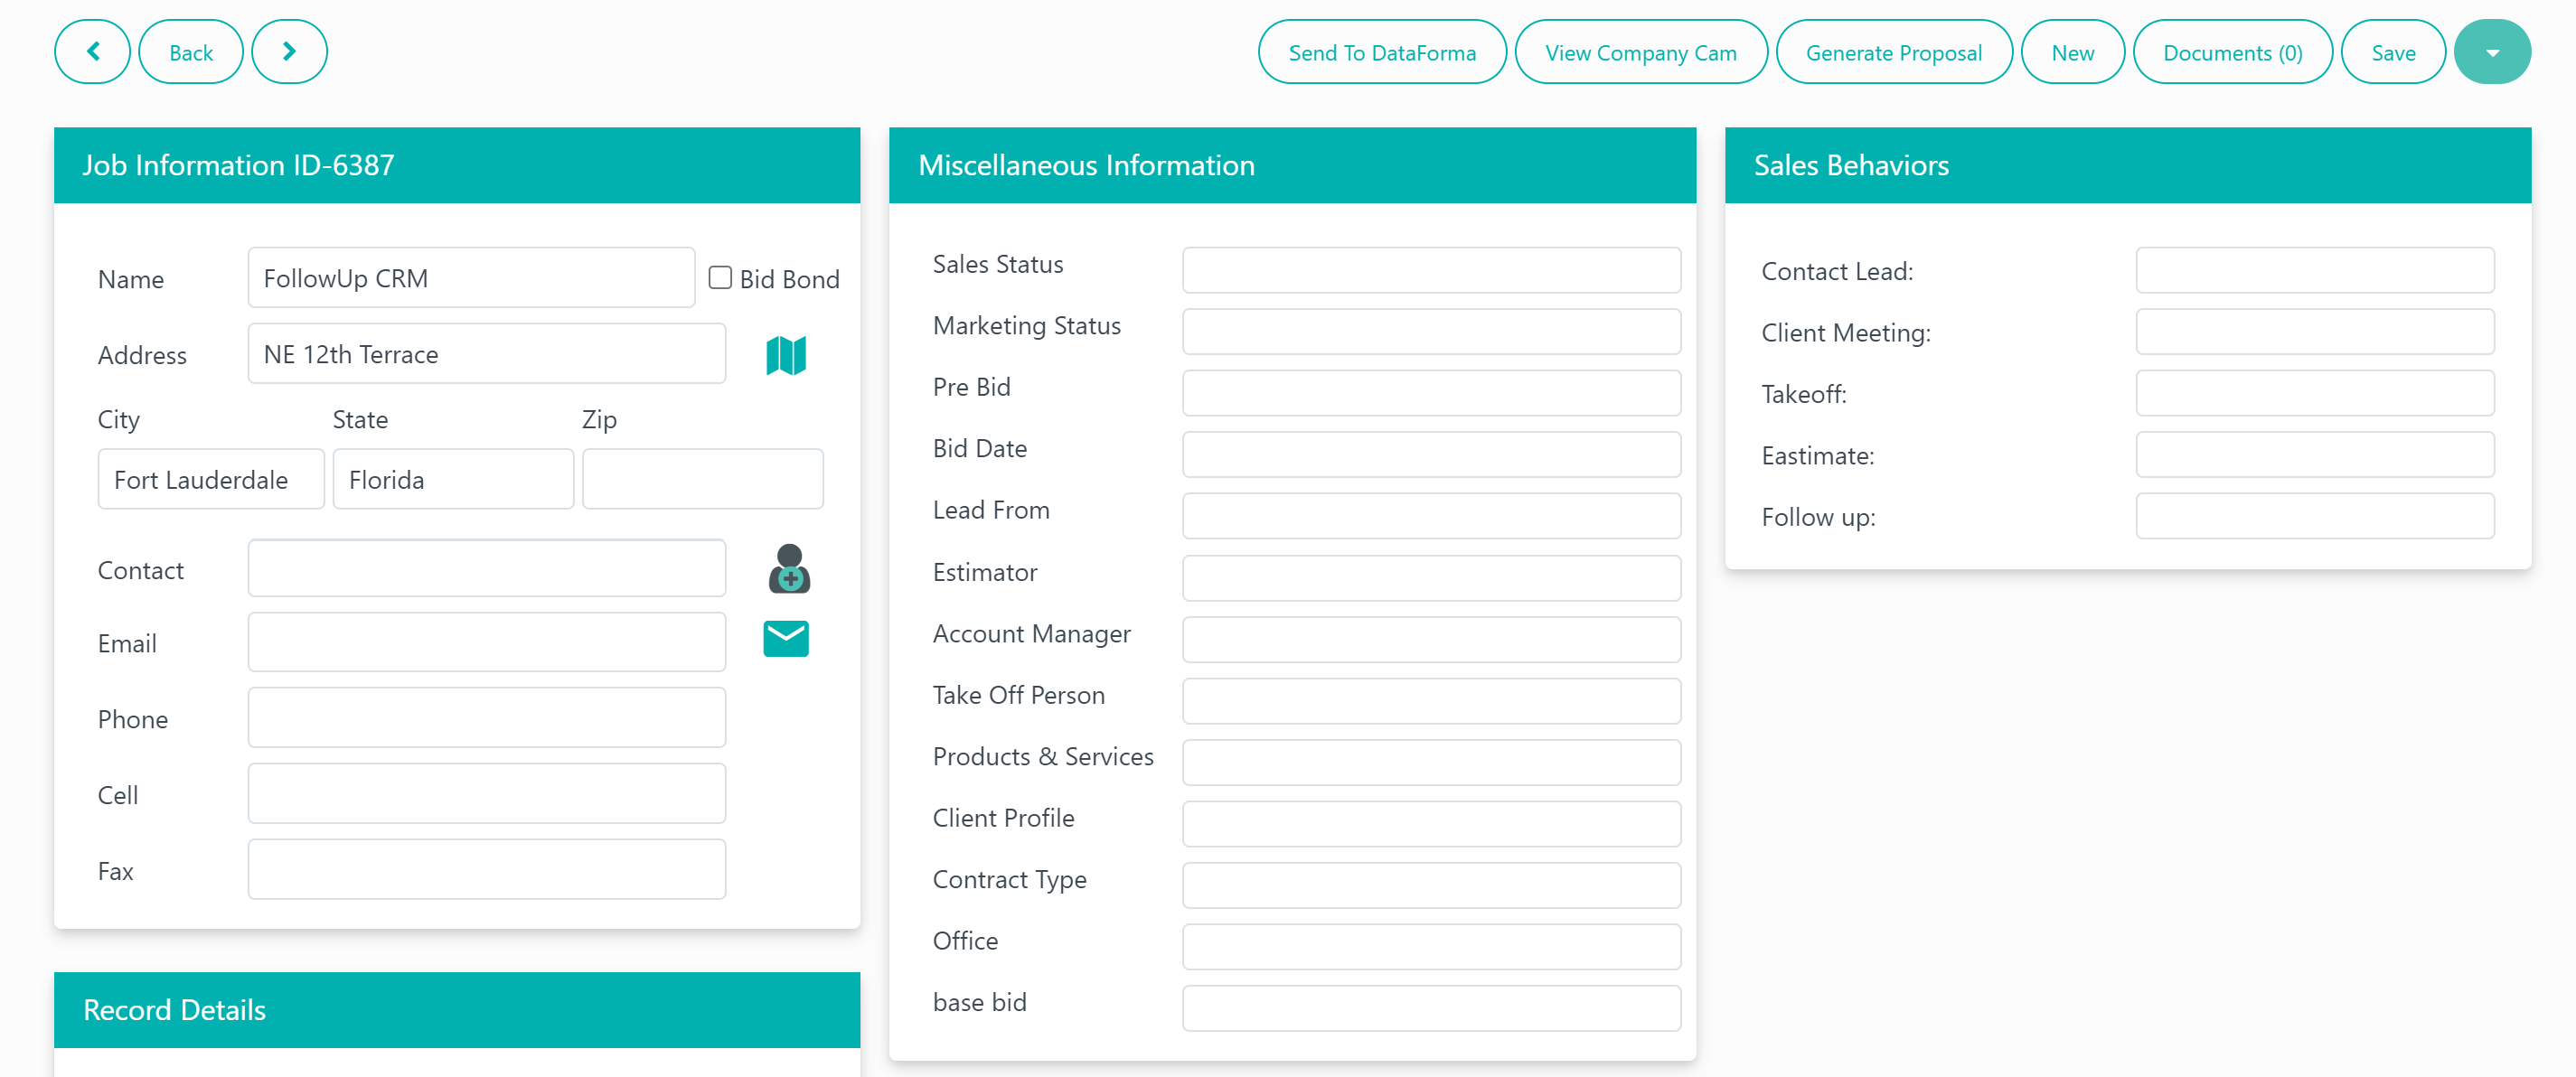
This allows you to share any documents on both sides and also create a new project from either the Followup side, or the CompanyCam side.
